A home security system is an extensive network of devices and technologies designed to enhance the safety and security of a residential property. These systems are created to protect homes and their occupants from various threats, including burglary, unauthorized access, fire, and other emergencies. Modern home security systems often integrate advanced technologies to provide comprehensive monitoring, surveillance, and control capabilities.
Home security systems are designed to provide a layered approach to protection, combining multiple devices and technologies to create a comprehensive defense against various threats. A home security system’s specific features and capabilities can vary depending on the preferred provider and the homeowner’s preferences.
How to Choose a Home Security System
Choosing the perfect home security system involves assessing your needs, considering available features, and selecting a reputable provider. Here are crucial factors to consider when picking a home security system:
1. Assess Your Security Needs:
Identify your specific security concerns. Do you primarily want protection against burglaries, or are you also concerned about fire, environmental threats, or unauthorized access? Understanding your priorities will guide your system selection.
2. Determine Your Budget:
Establish a budget for your home security system. Costs can include equipment, installation fees, and monthly monitoring fees. Be clear about your budget constraints and explore options within your financial range.
3. Research Reputable Providers:
Look for well-established and reputable home security system providers. Read customer reviews, check ratings from independent organizations, and ask friends, family, or neighbors for recommendations.
4. Professional Monitoring vs. Self-Monitoring:
Decide whether you prefer professional monitoring services or self-monitoring. Professional monitoring involves a third-party monitoring center that responds to alarms and alerts, while self-monitoring allows you to receive notifications directly and take action.
5. Consider Contract Terms:
Some home security providers require long-term contracts, while others offer month-to-month services. Consider the flexibility of the contract terms, cancellation policies, and associated fees.
6. Evaluate Equipment Options:
Examine the types of security devices offered by providers. Consider whether you need door and window sensors, motion detectors, surveillance cameras, smart doorbell cameras, or environmental sensors. Ensure that the equipment meets your specific security needs.
7. Home Automation Integration:
If you are interested in home automation, choose a security system that can integrate with smart home platforms. Through a single interface, it lets you control security devices and other connected devices, including smart locks, lights, and thermostats.
8. Ease of Use:
Evaluate the system’s user-friendliness. A user-friendly interface and mobile app should make managing and monitoring your security system easier. Look for features like remote arming and disarming, real-time alerts, and easy customization.
9. Wireless vs. Wired Systems:
Determine whether you prefer a wireless or wired security system. Wireless systems are easier to install and offer flexibility, while wired systems may be more reliable but require professional installation.
10. Customer Support:
Assess the level of customer support the security system provider provides. Consider factors such as responsiveness, availability, and the quality of customer service.
11. Scalability:
Pick a system that can scale with your needs. If you plan to expand or upgrade your security system, ensure that the chosen provider offers compatible devices and allows easy expansion.
12. Trial Periods and Guarantees:
Check if the security provider offers trial periods or guarantees. Some companies provide a money-back guarantee or trial period to allow you to test the system and ensure it meets your expectations.
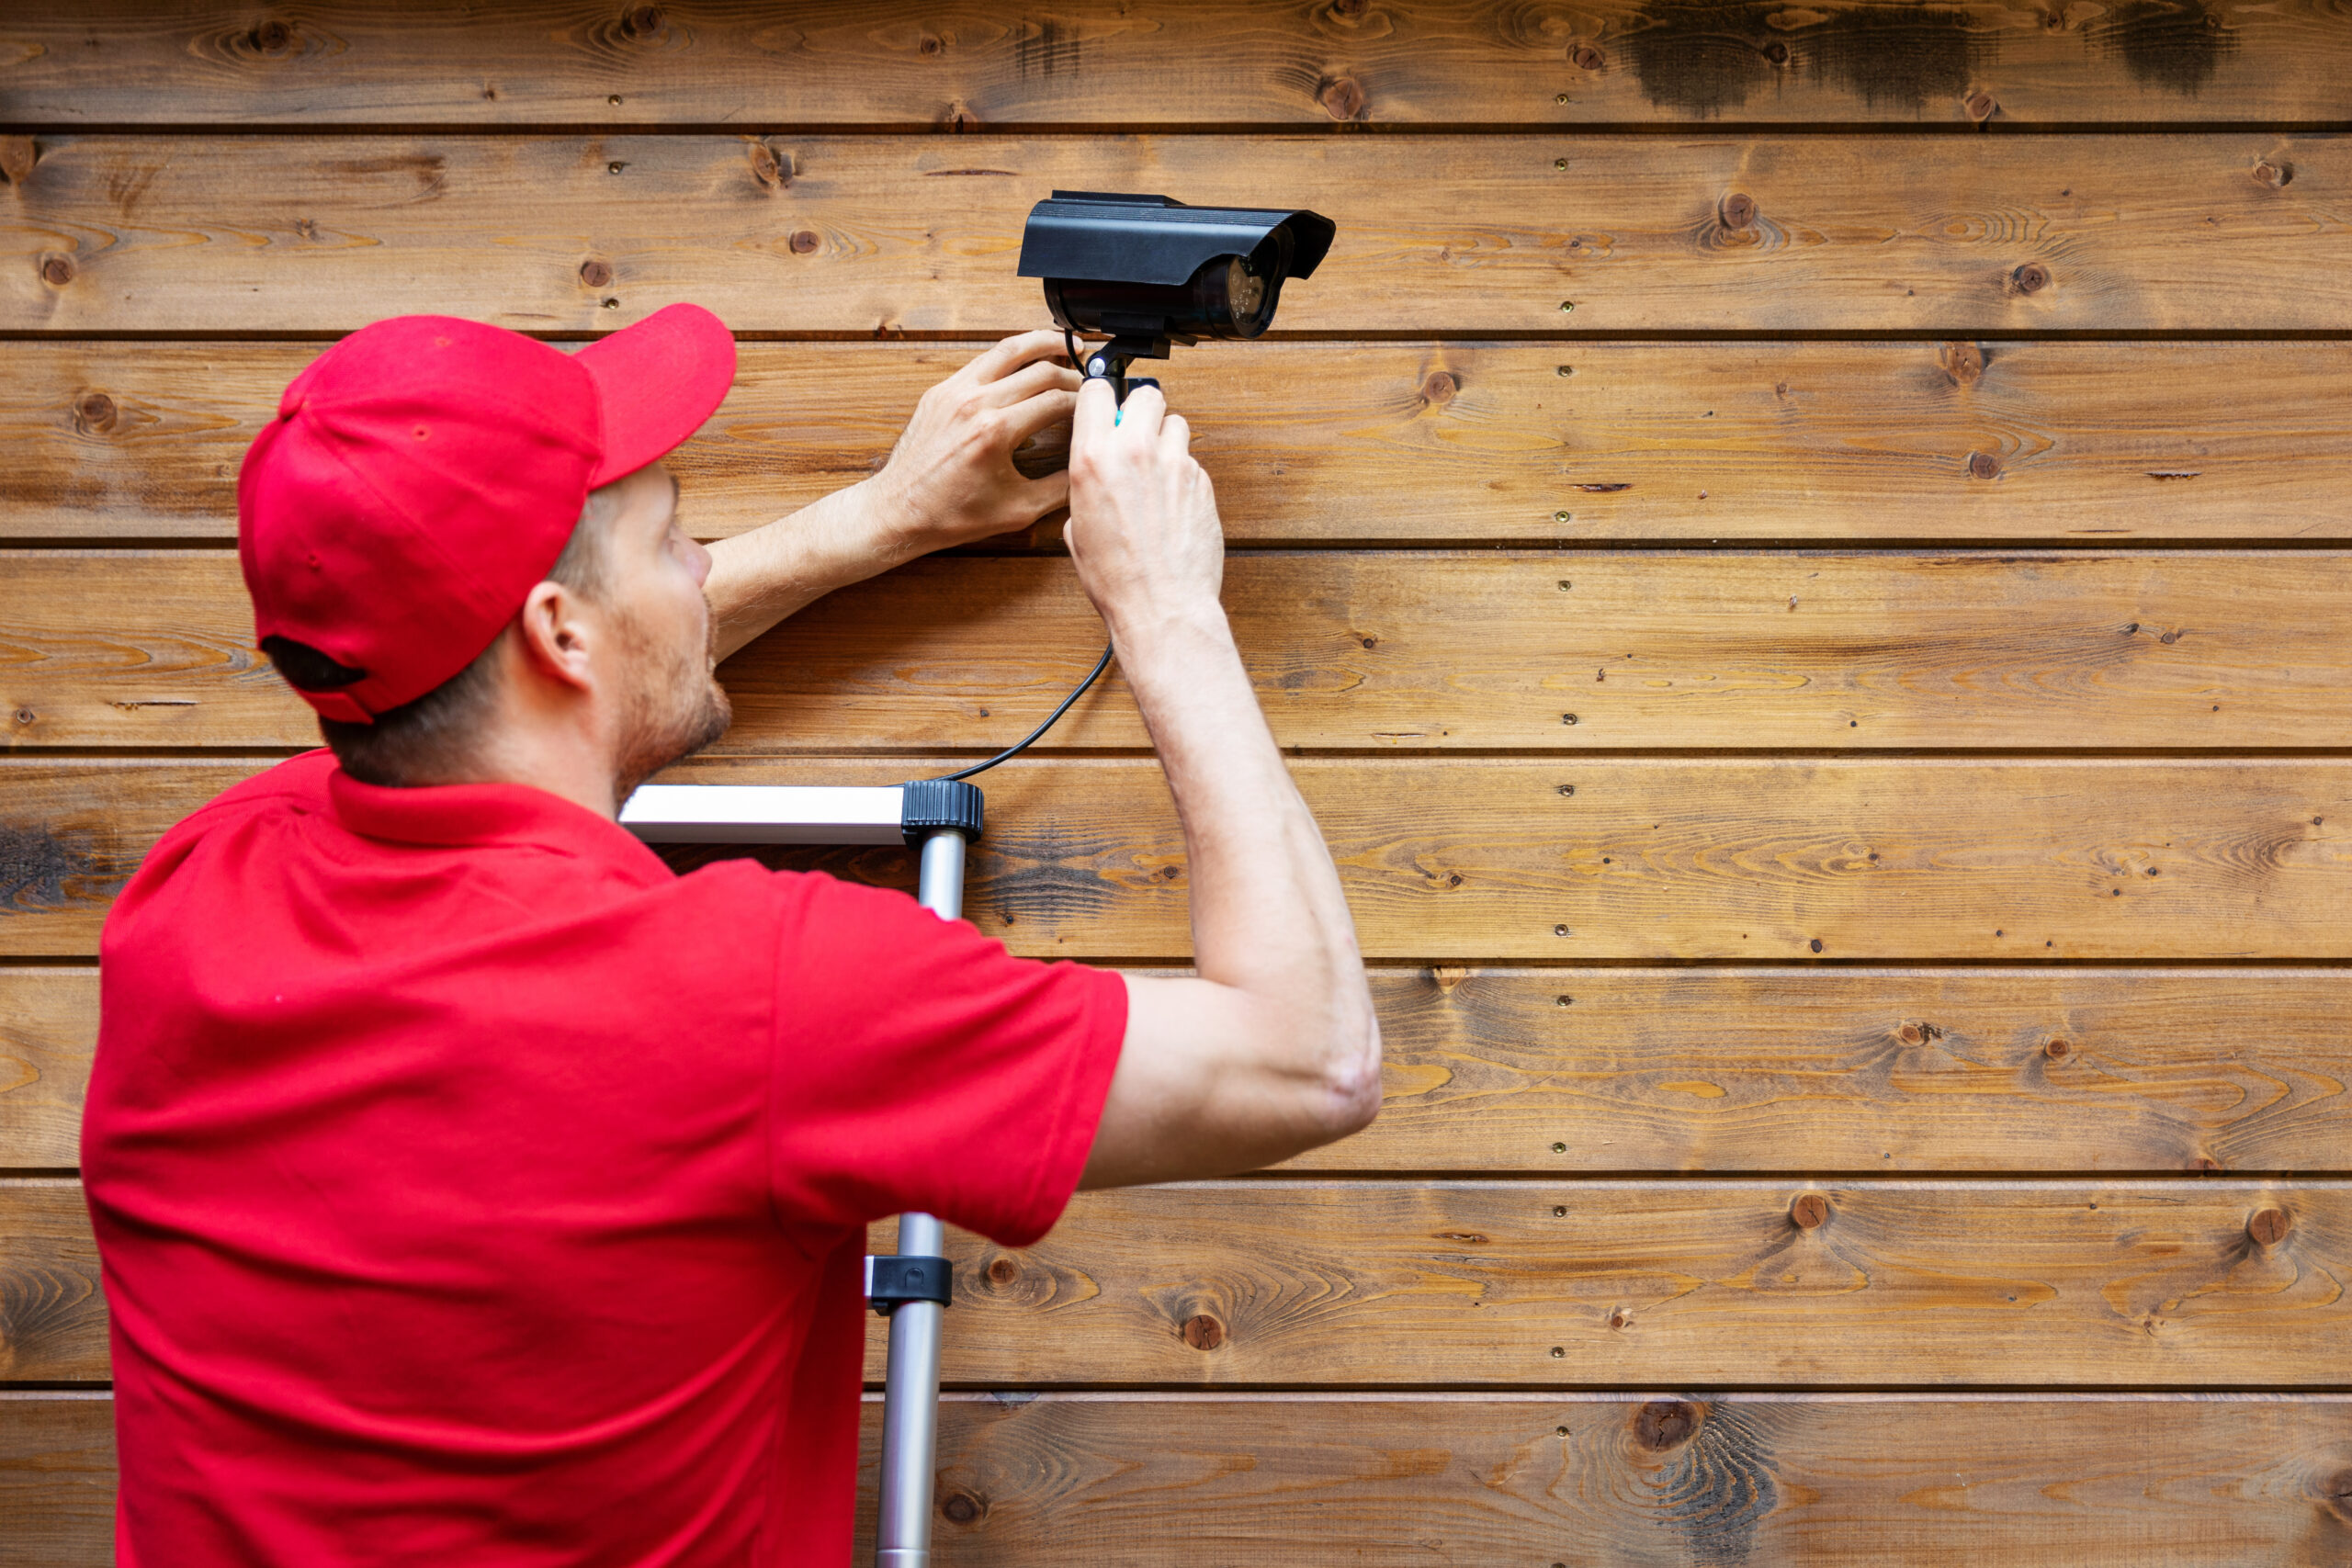
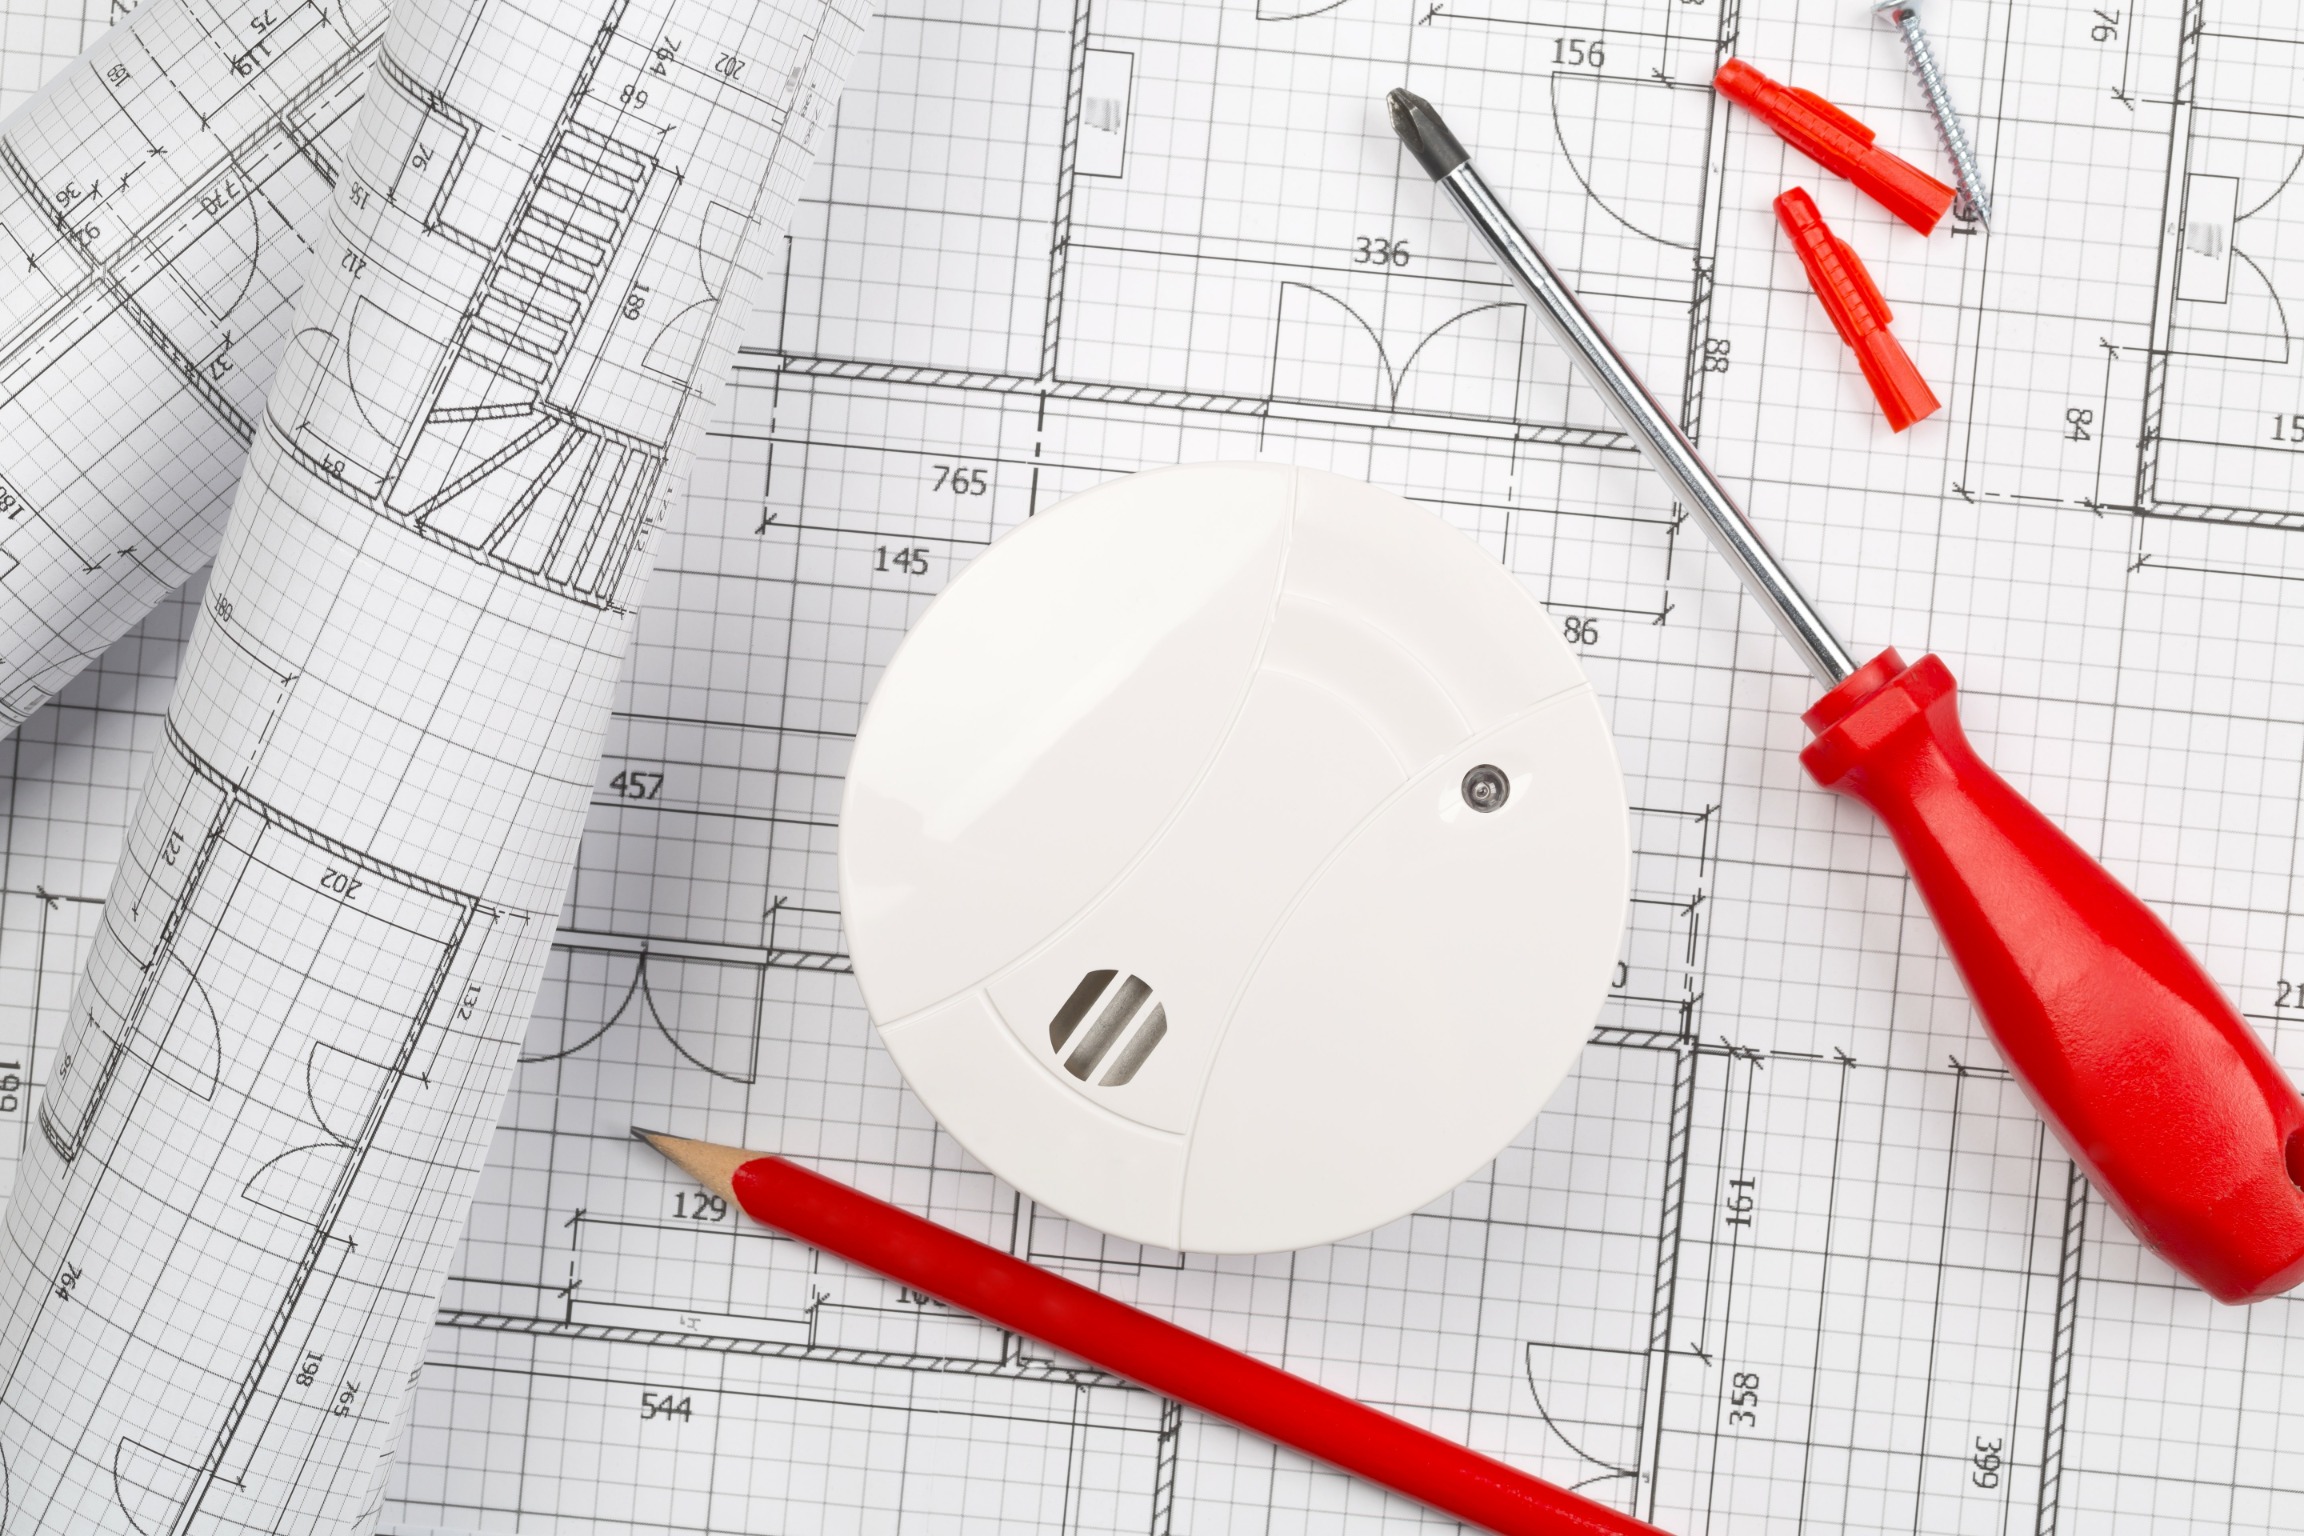
13. Professional Installation vs. DIY Installation:
Decide whether you prefer professional installation or a do-it-yourself (DIY) approach. Professional installation ensures proper setup, while DIY options are often more cost-effective and allow flexible installation.
14. Local Regulations and Permits:
Be aware of local regulations regarding home security systems and permits. Some areas may require permits for monitored security systems, and understanding these requirements is essential to avoid potential fines.
Researching and comparing options thoroughly will help you choose a home security system that aligns with your needs and provides the level of protection you desire.
What Makes Up a Home Security System
Essential components of a standard home security system include:
1. Control Panel:
The control panel is the central hub of the home security system. It allows users to arm or disarm the system and often includes a keypad for entering security codes.
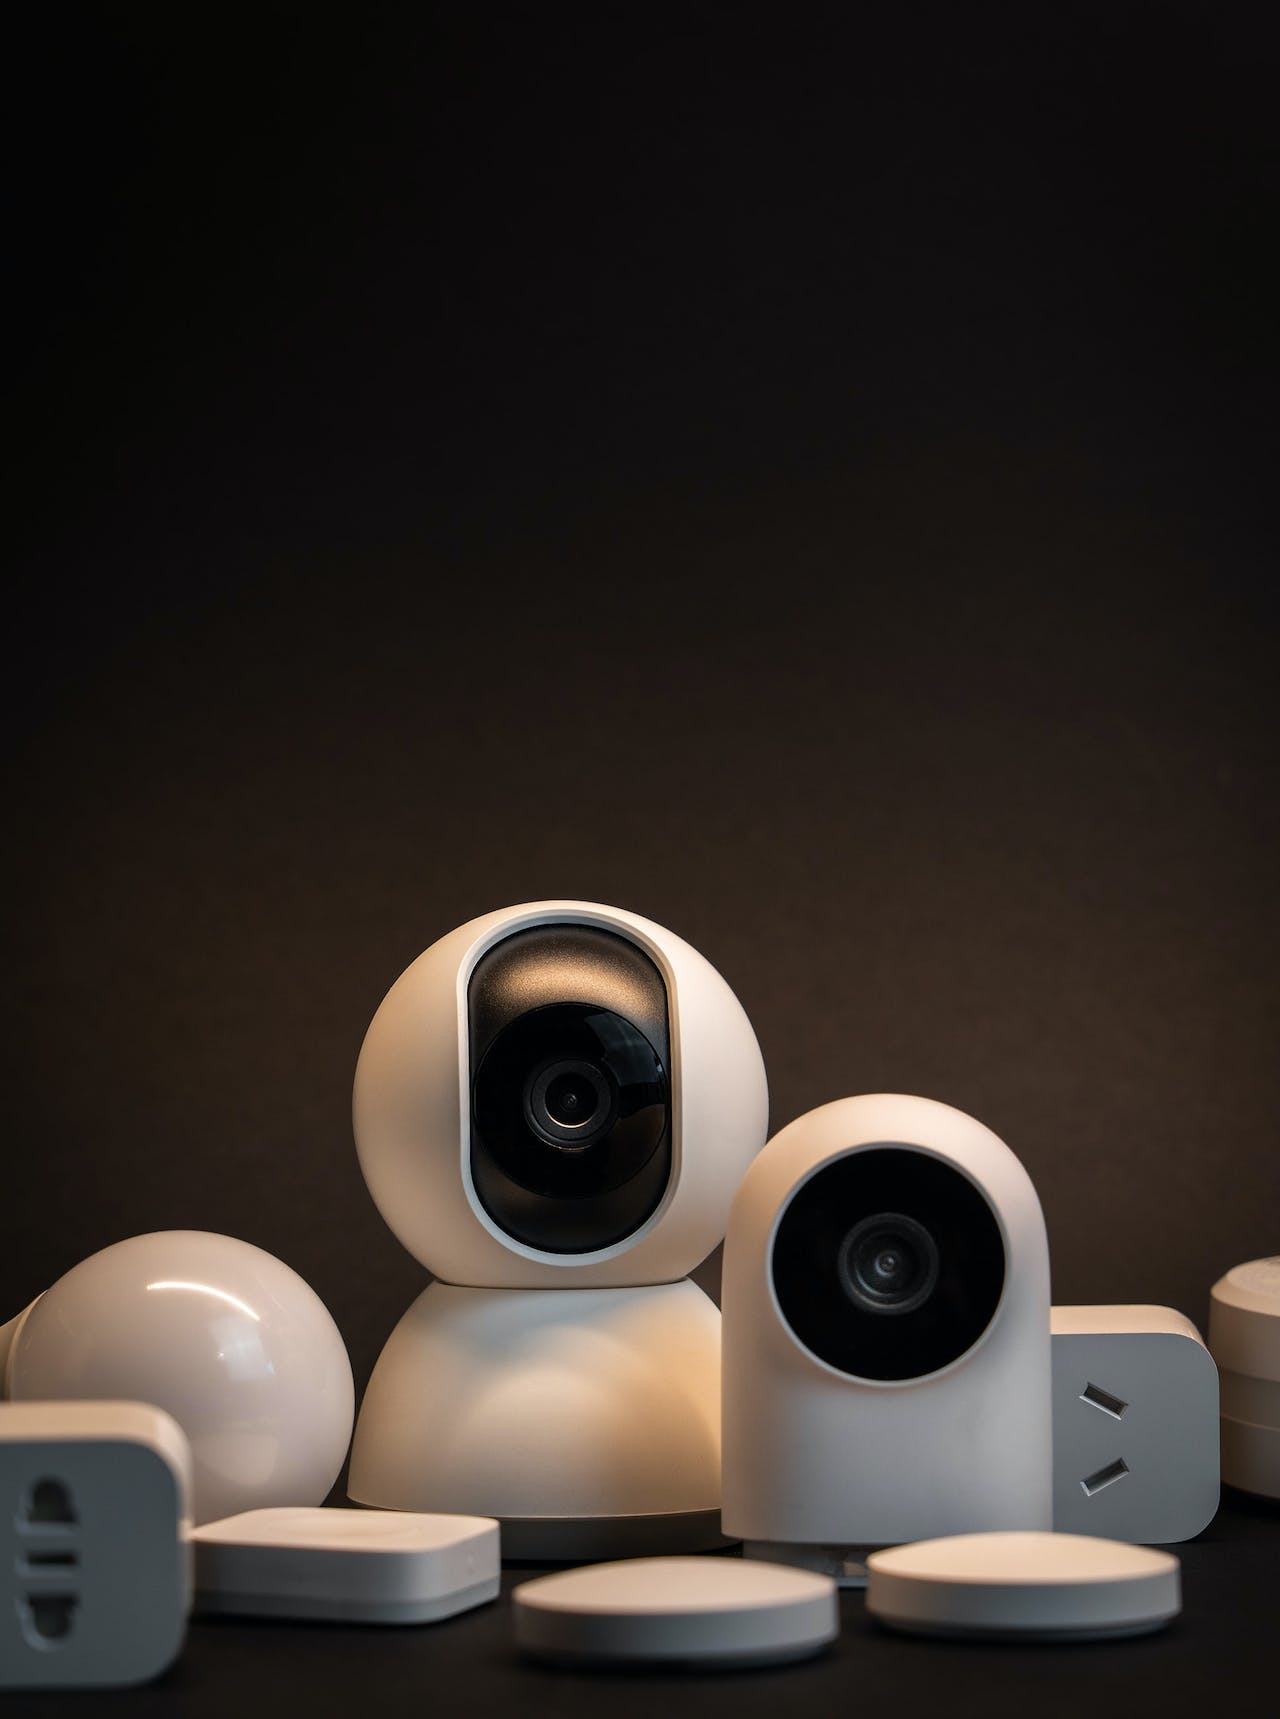
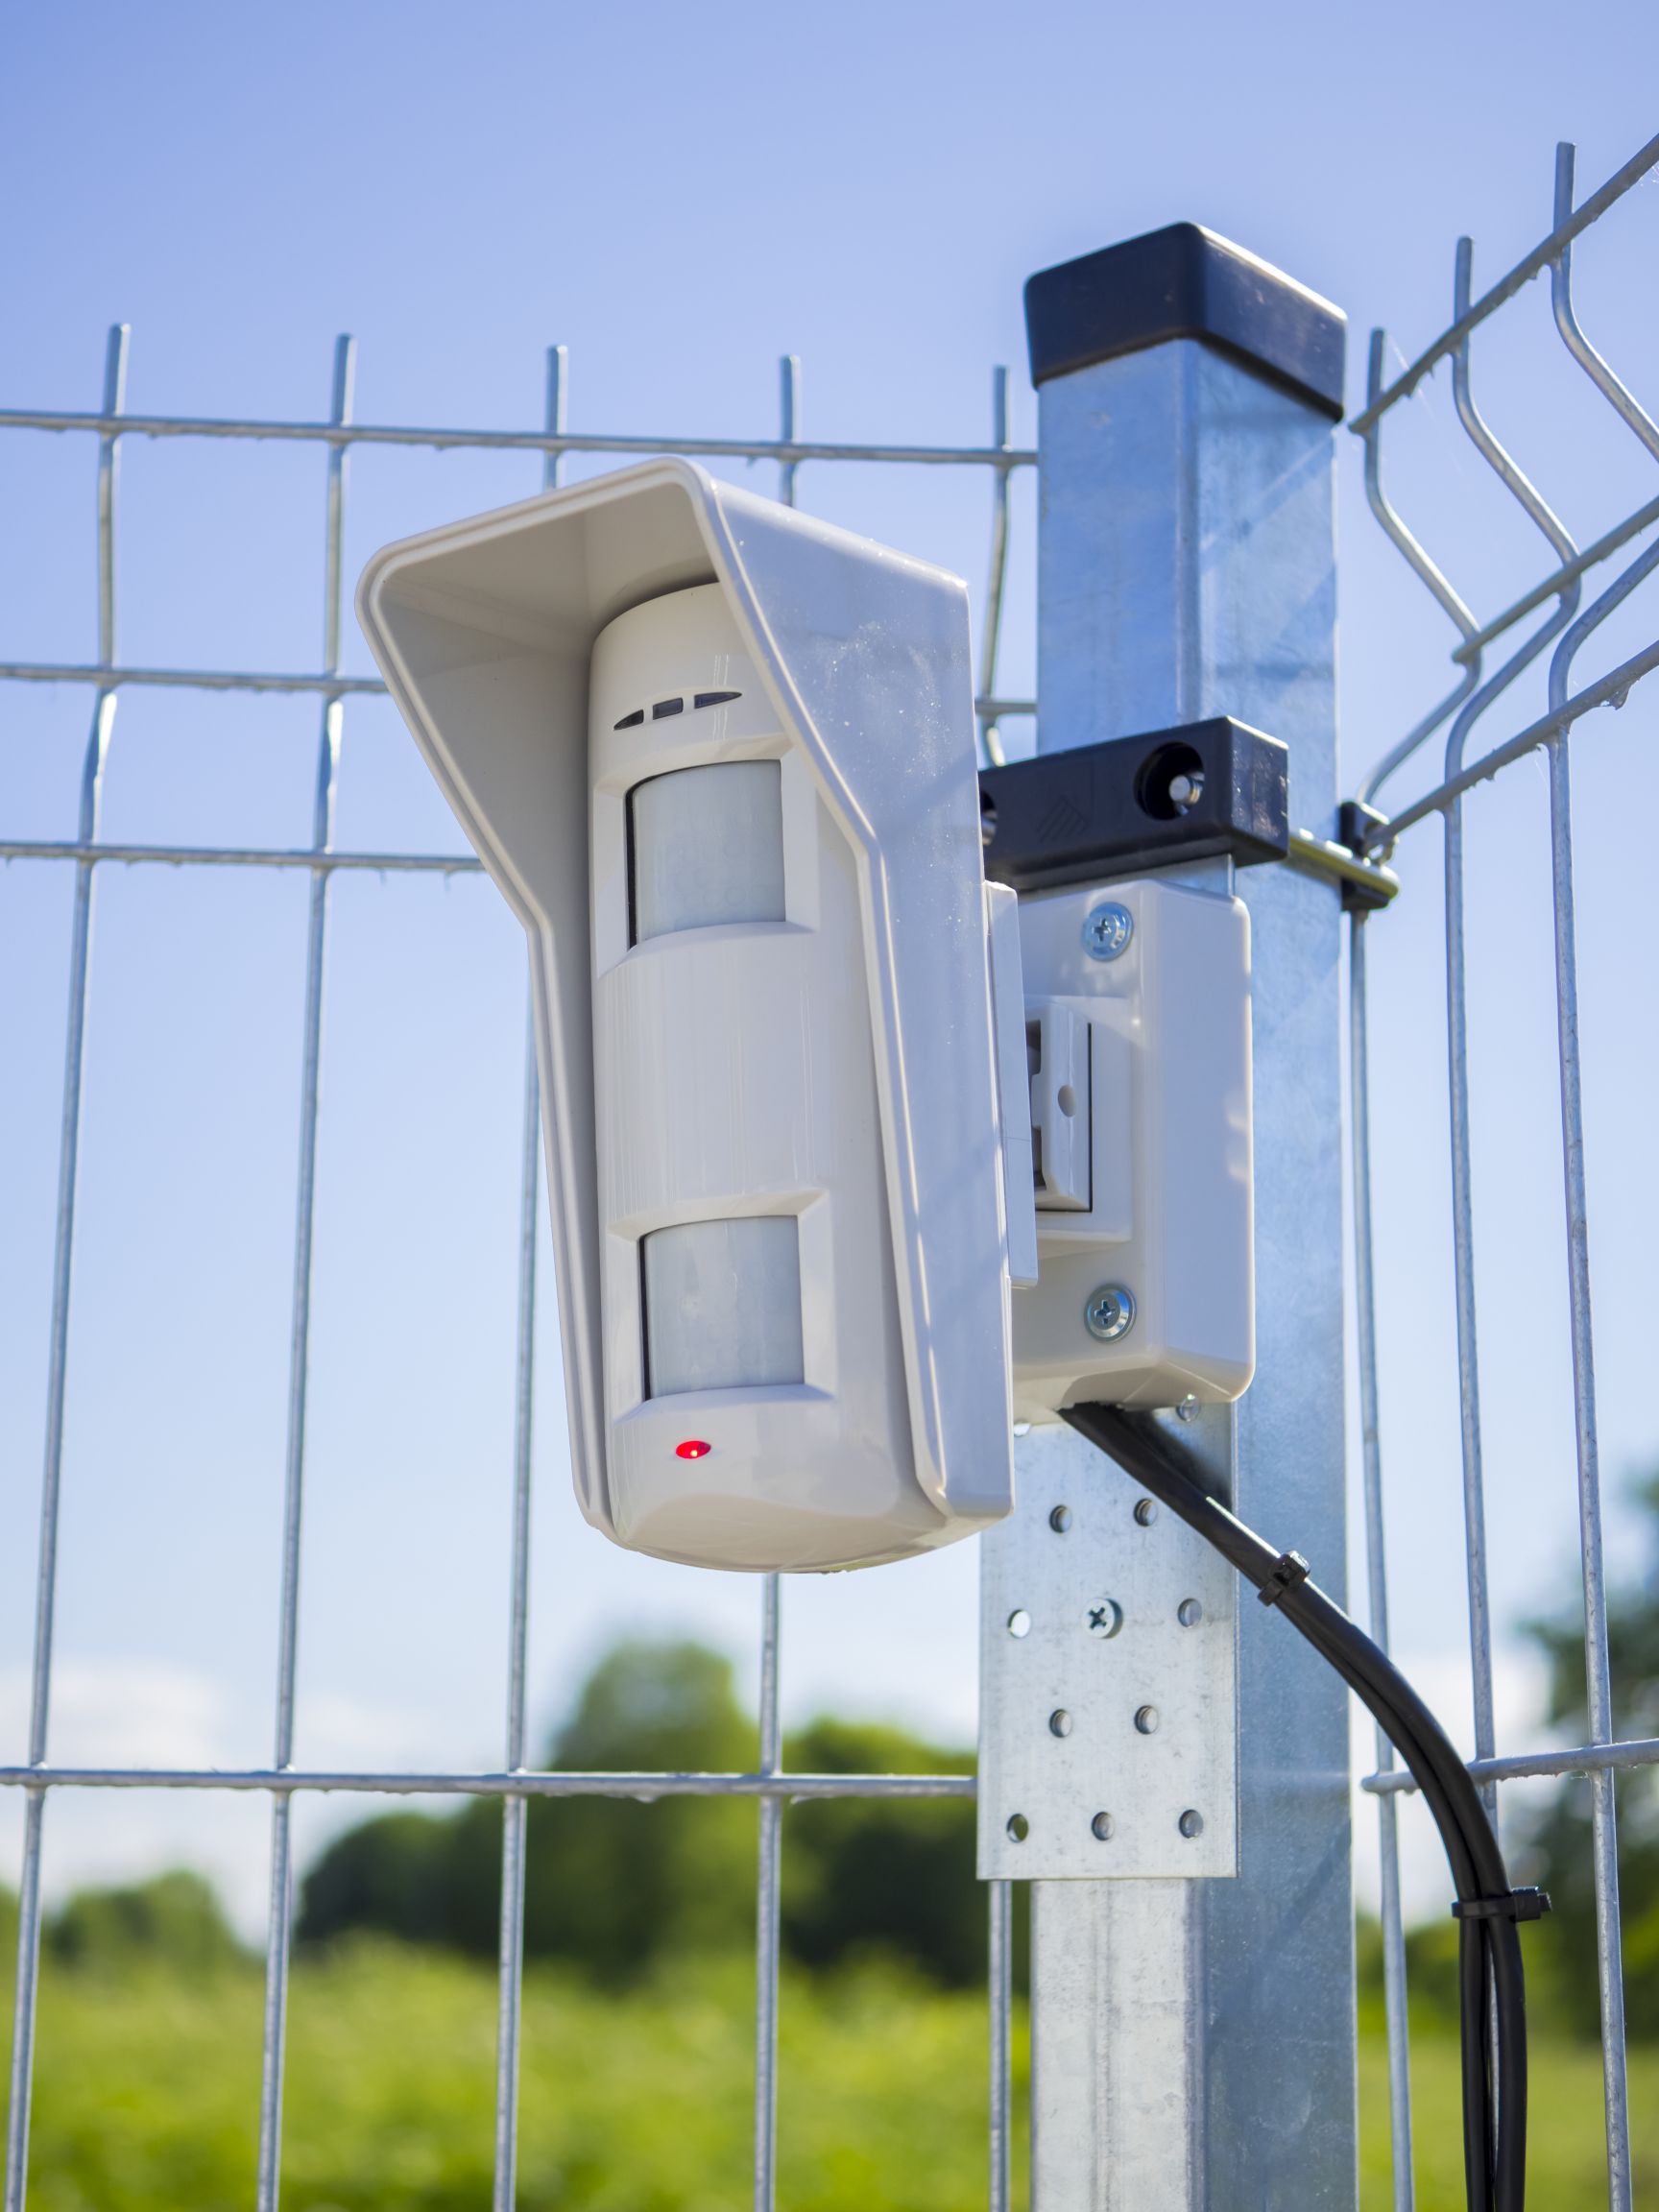
2. Sensors:
Various sensors are placed strategically around the home to detect specific events. Common types of sensors include:
- Door and Window Sensors: Triggered when doors or windows are opened or closed.
- Motion Sensors: Detect and identify movement within a specified area.
- Glass Break Sensors: Activate in response to the sound of breaking glass.
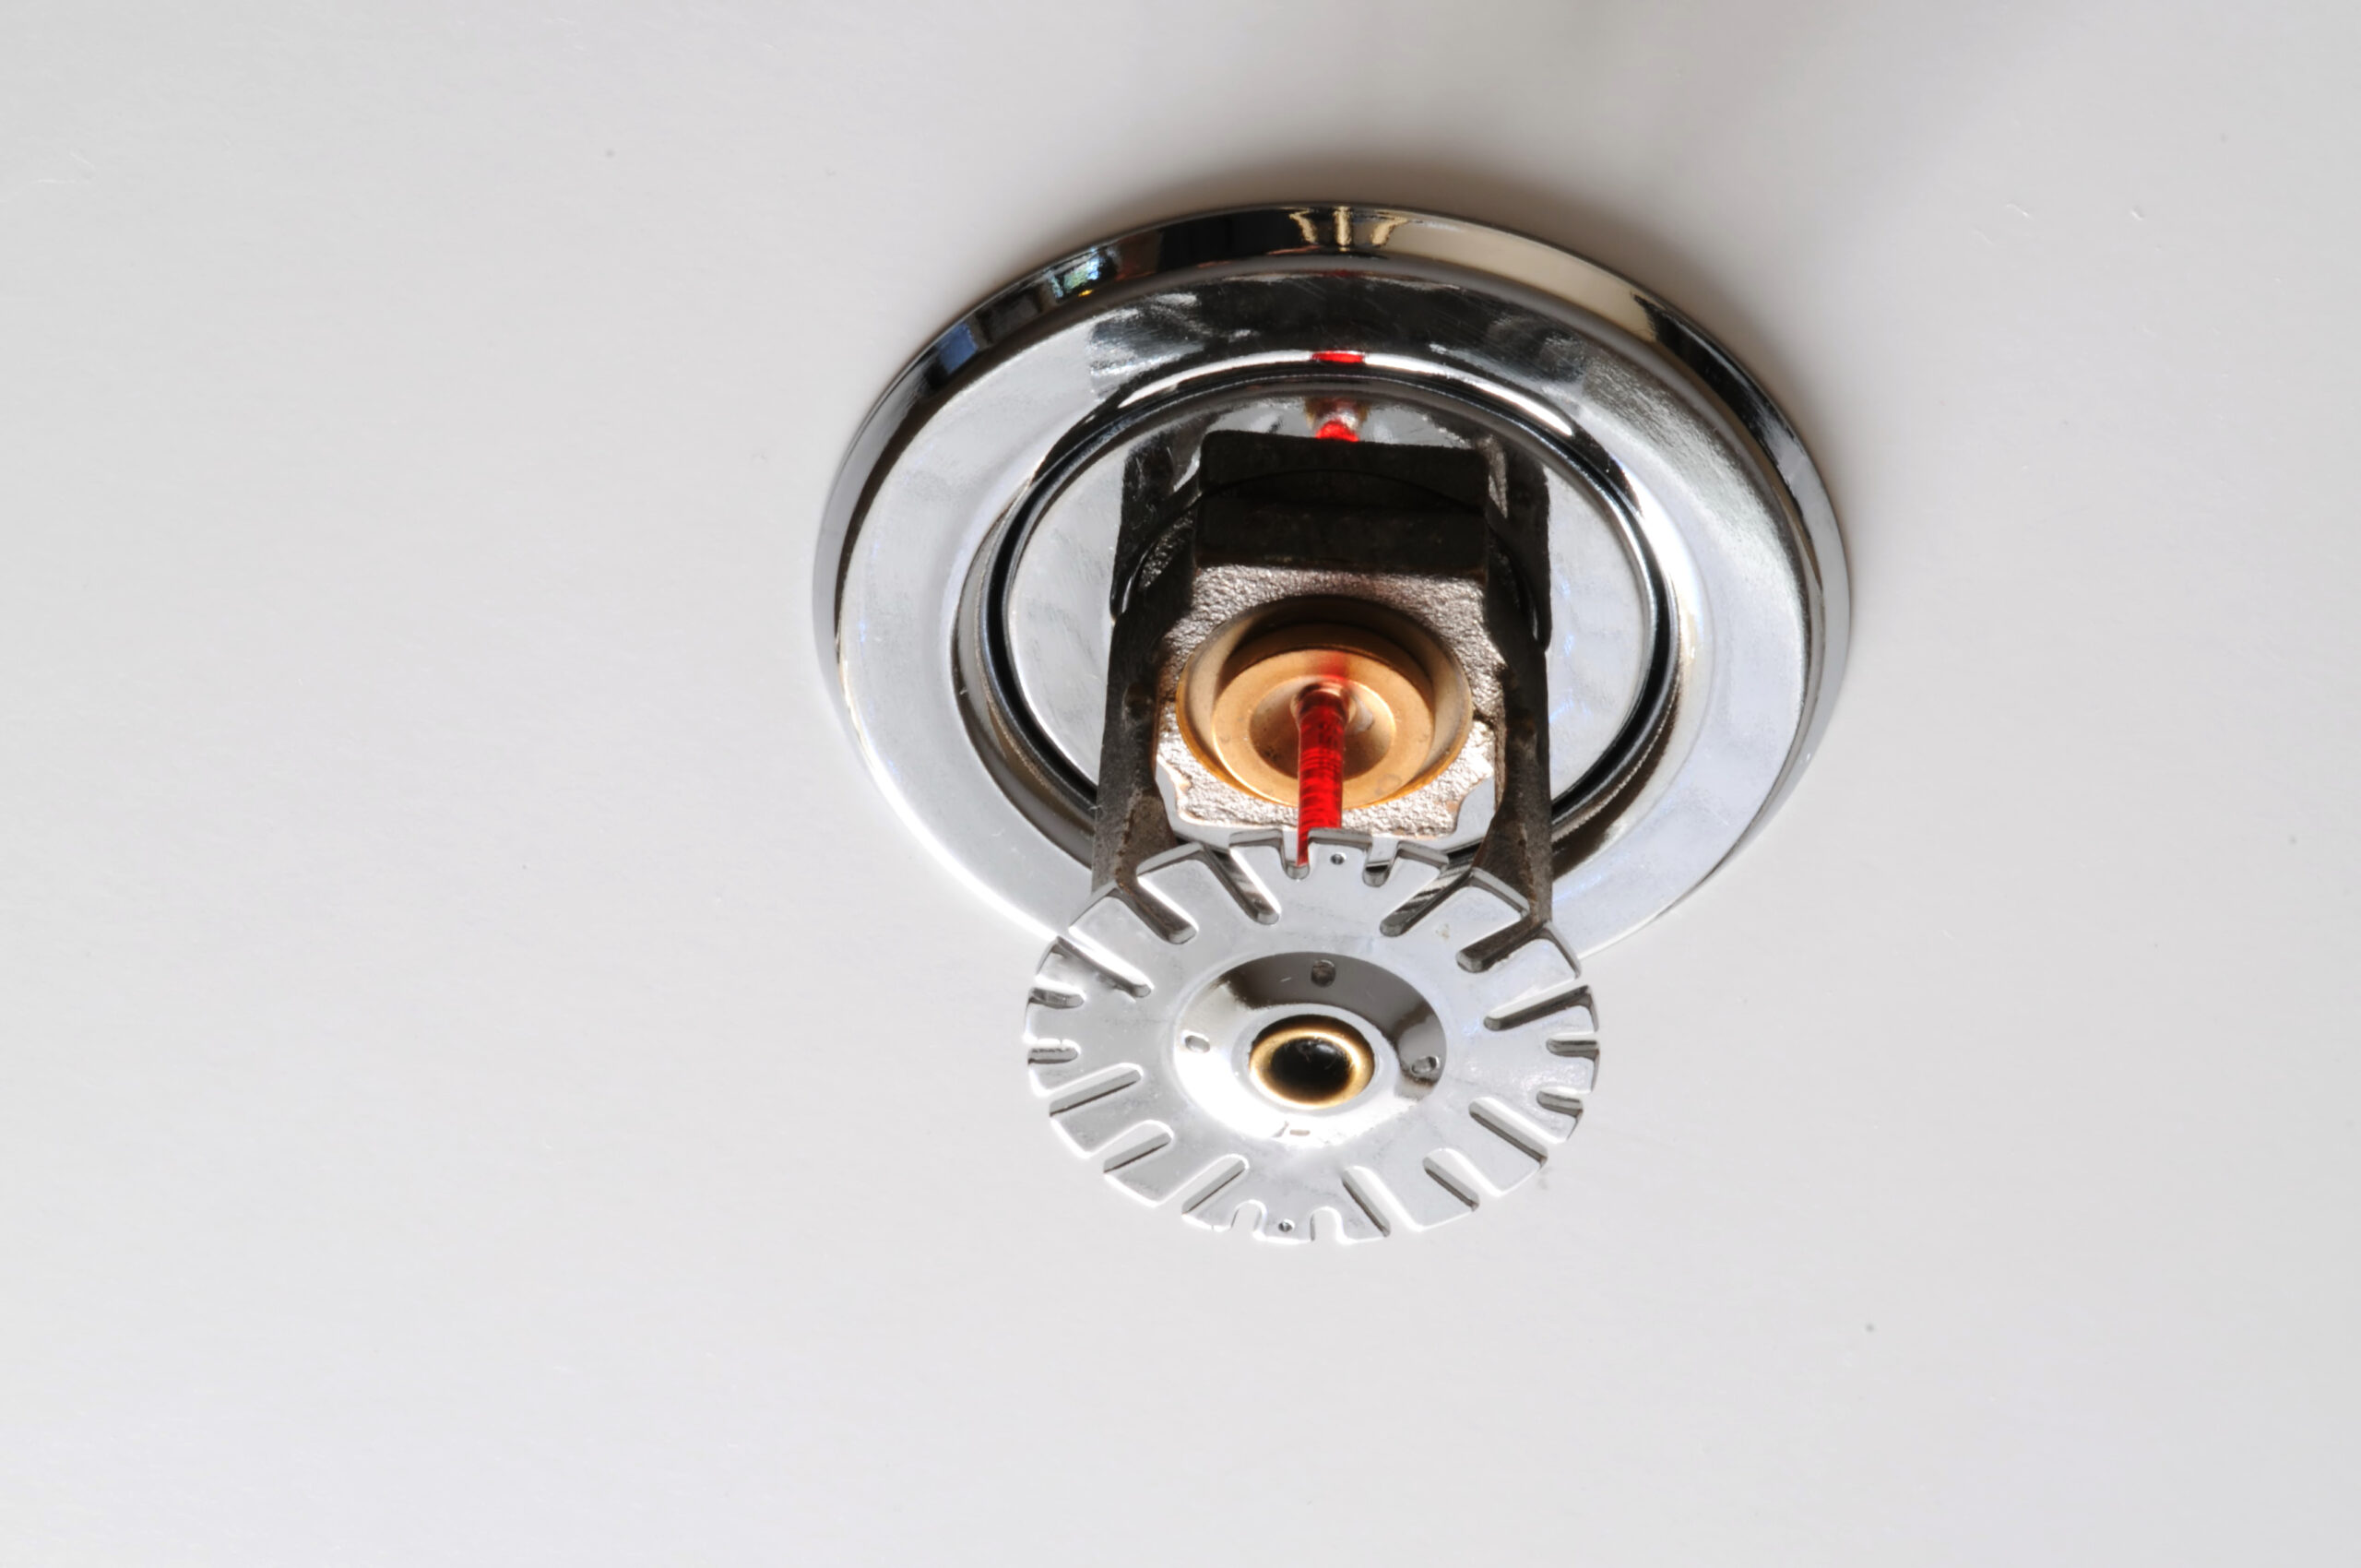
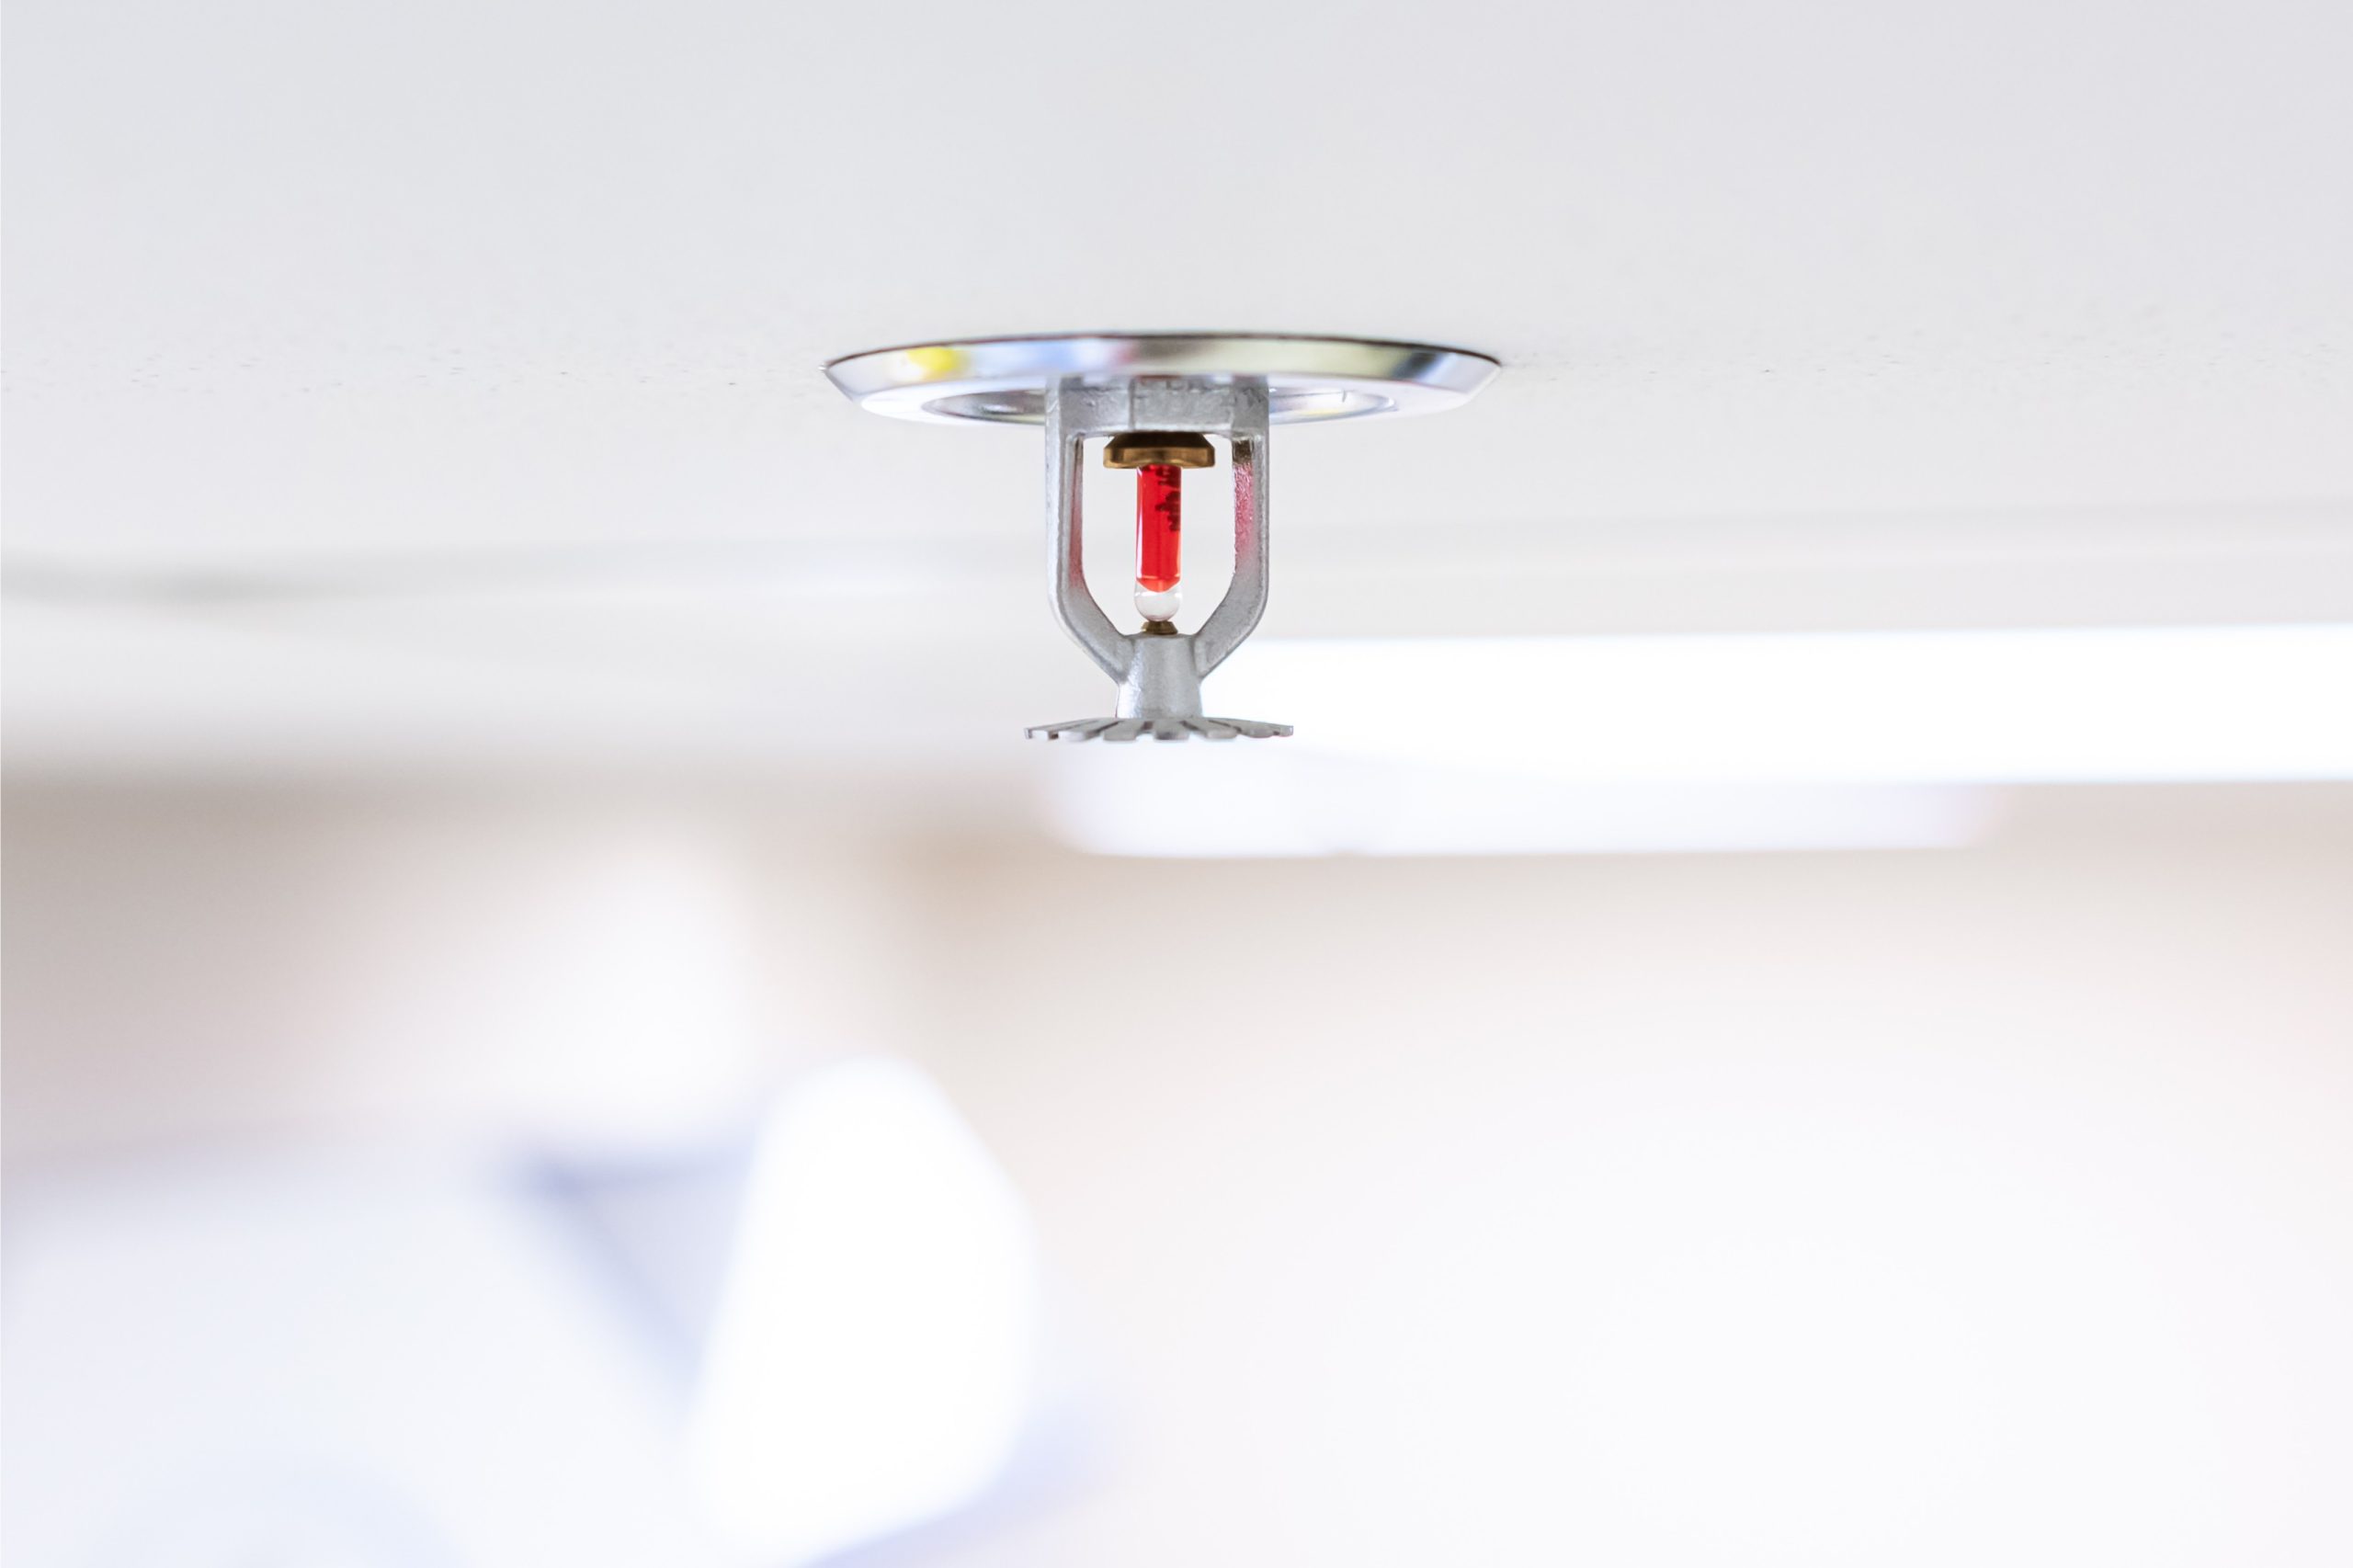
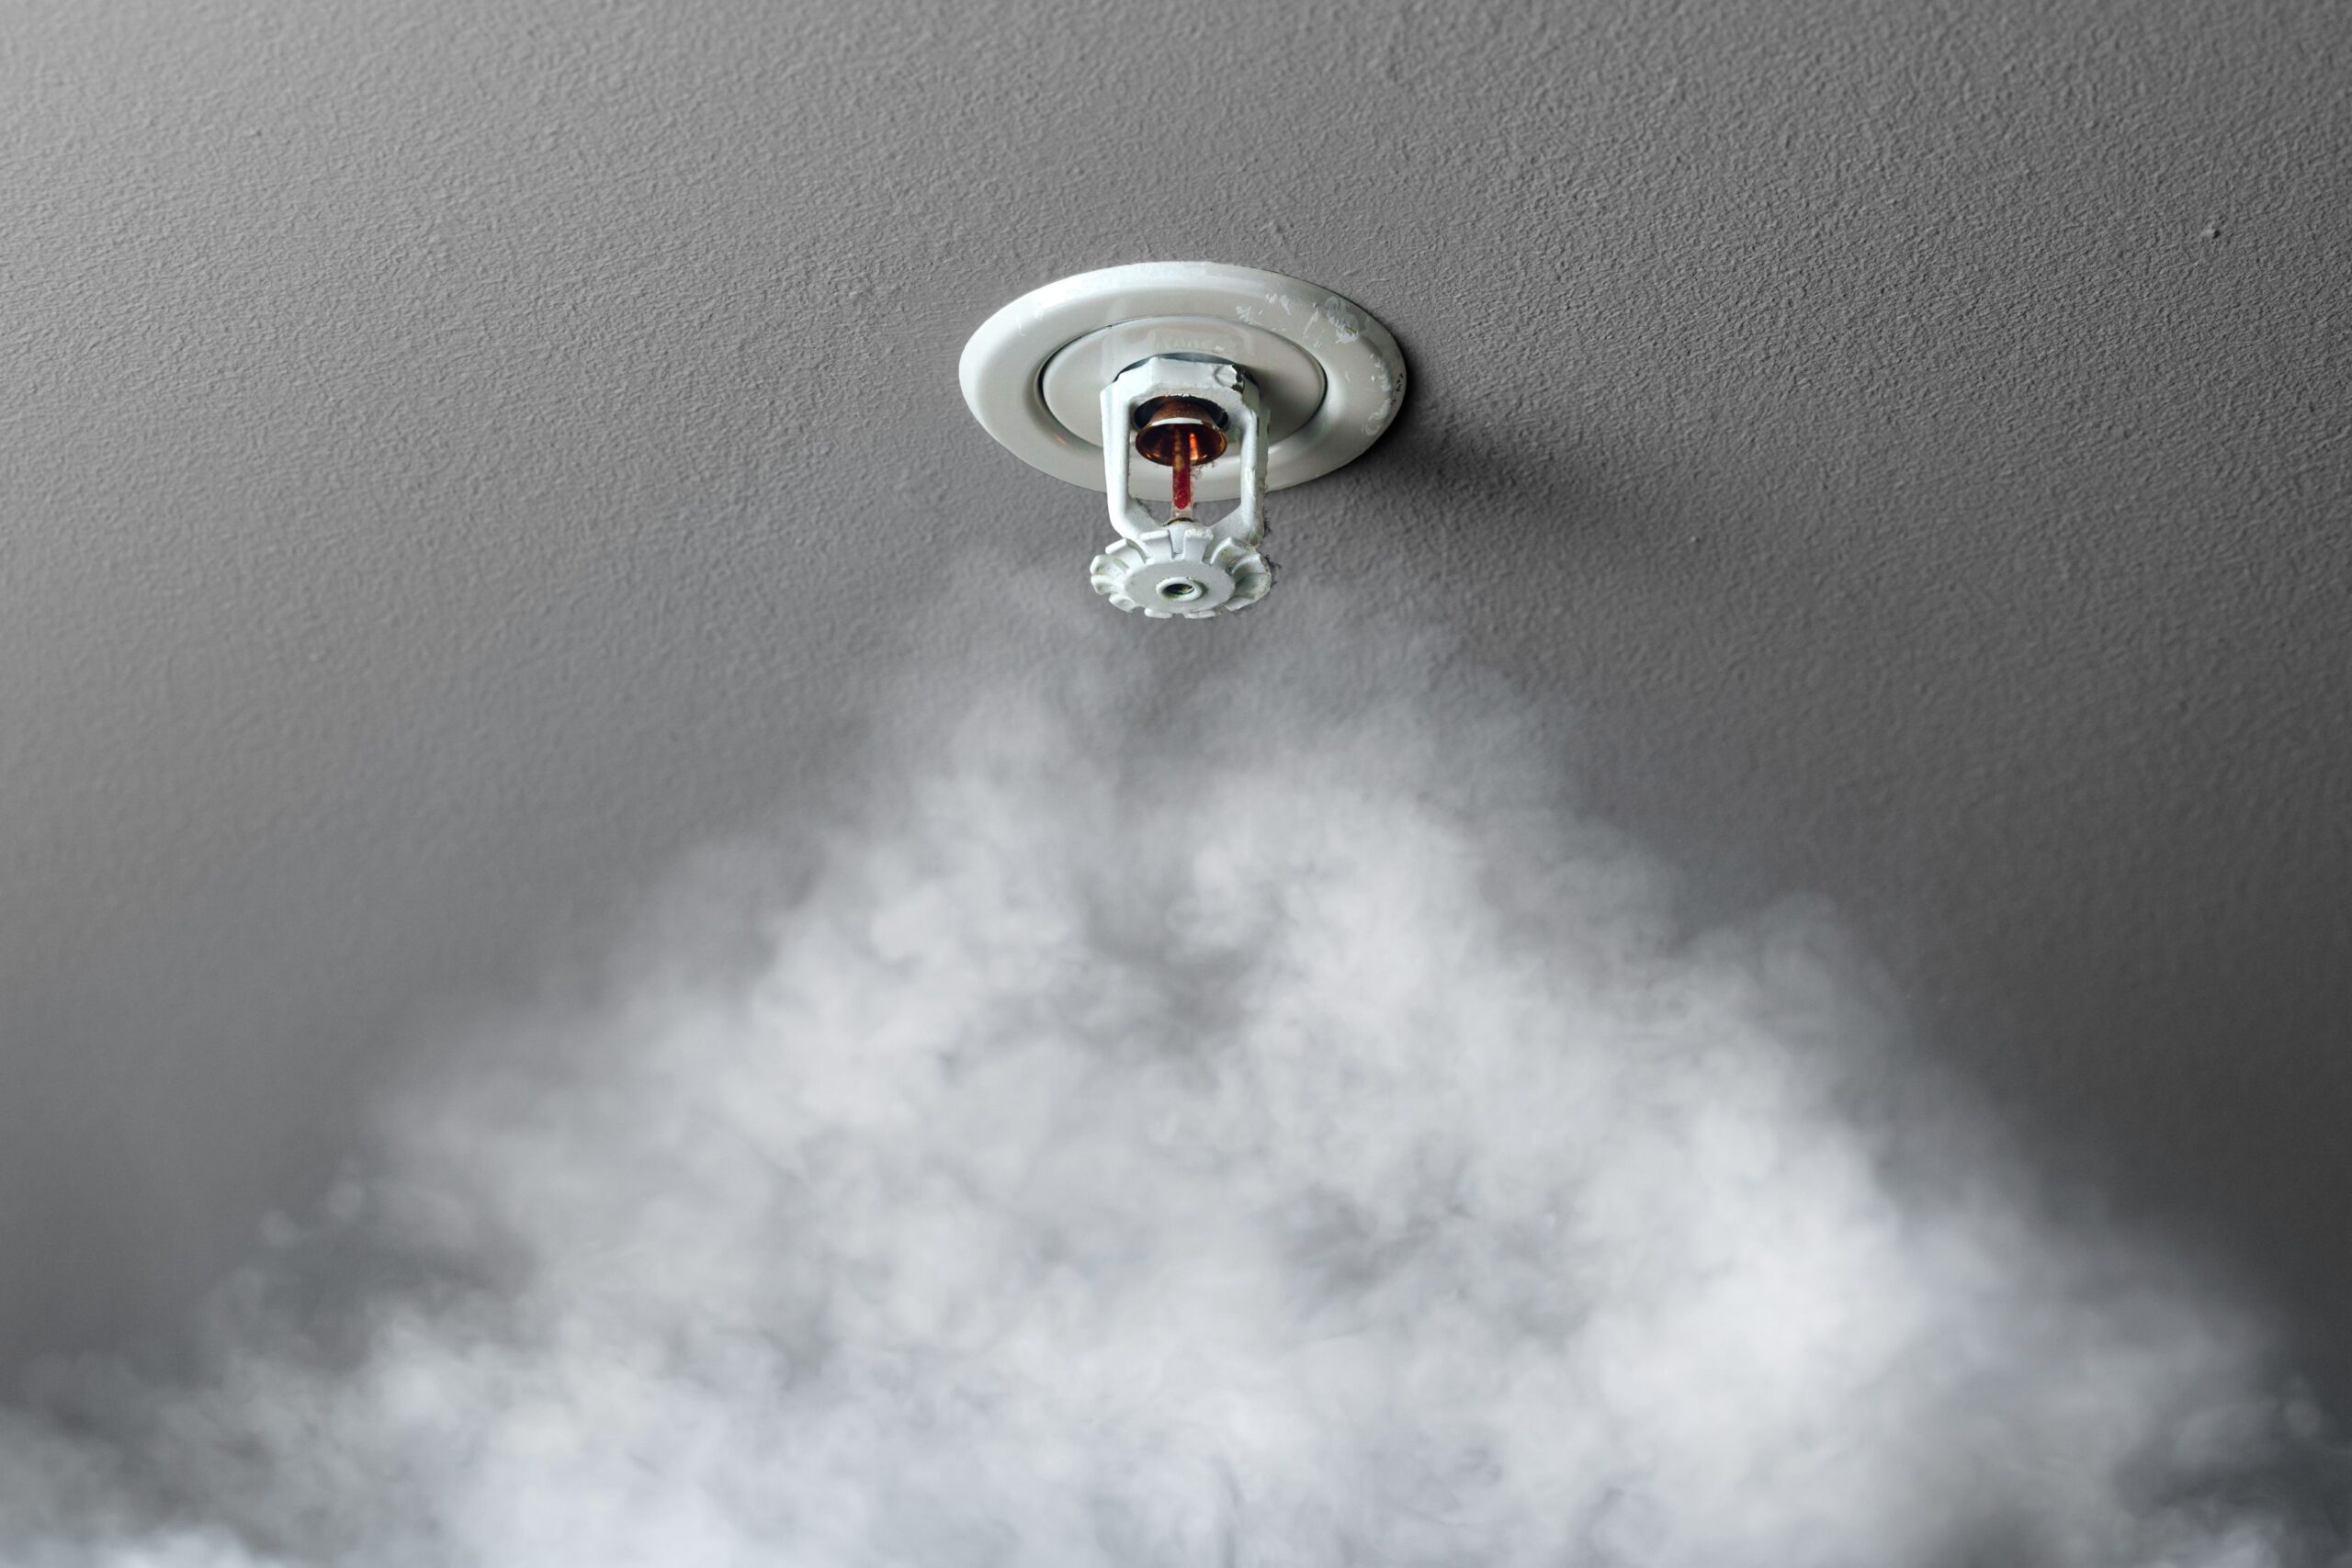
- Smoke and Heat Sensors: Detect signs of fire or excessive heat.
- Carbon Monoxide Detectors: Monitor for the presence of this odorless gas.
- Flood Sensors: Alert homeowners to potential water damage.
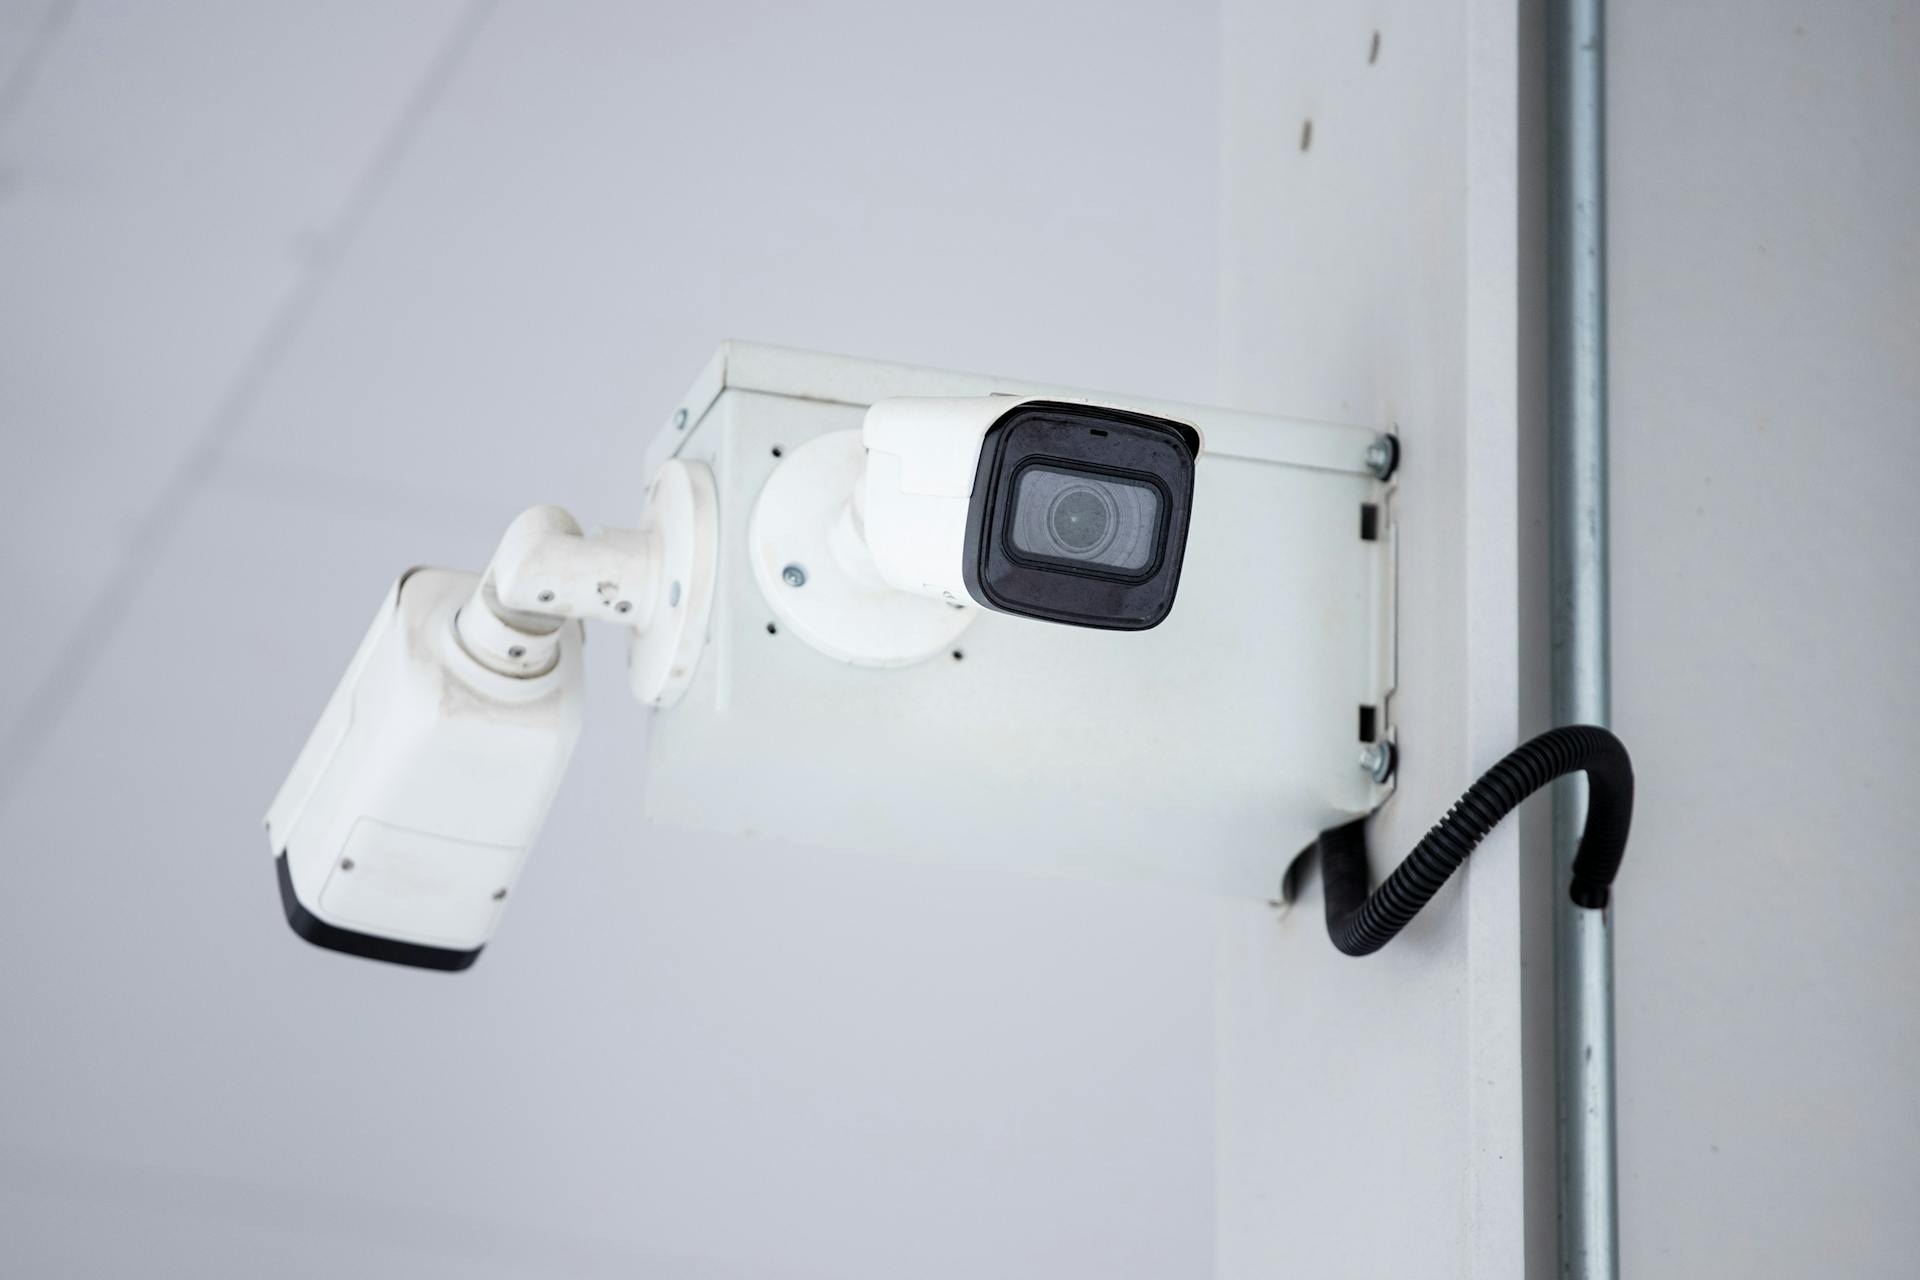
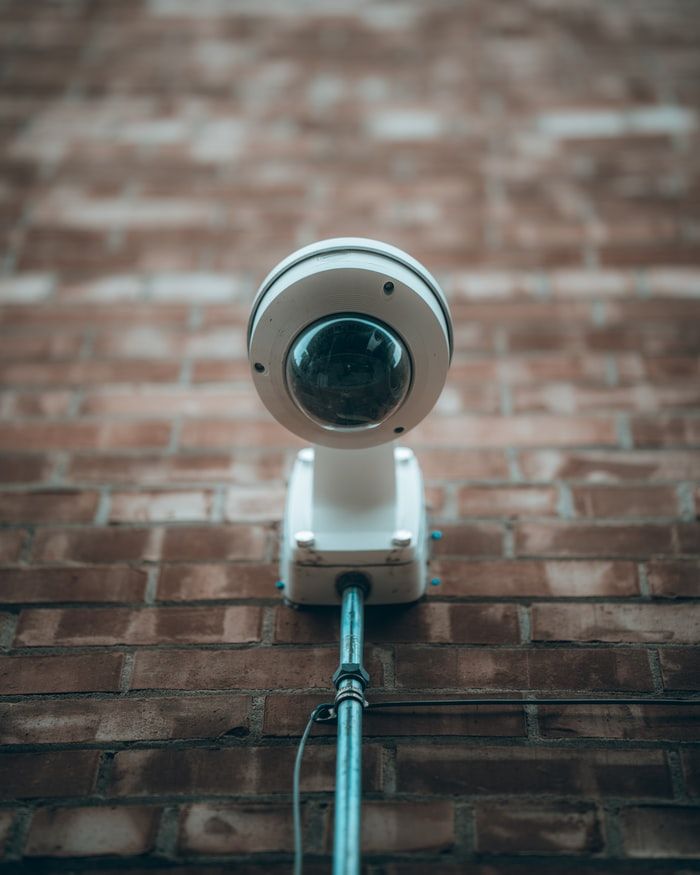
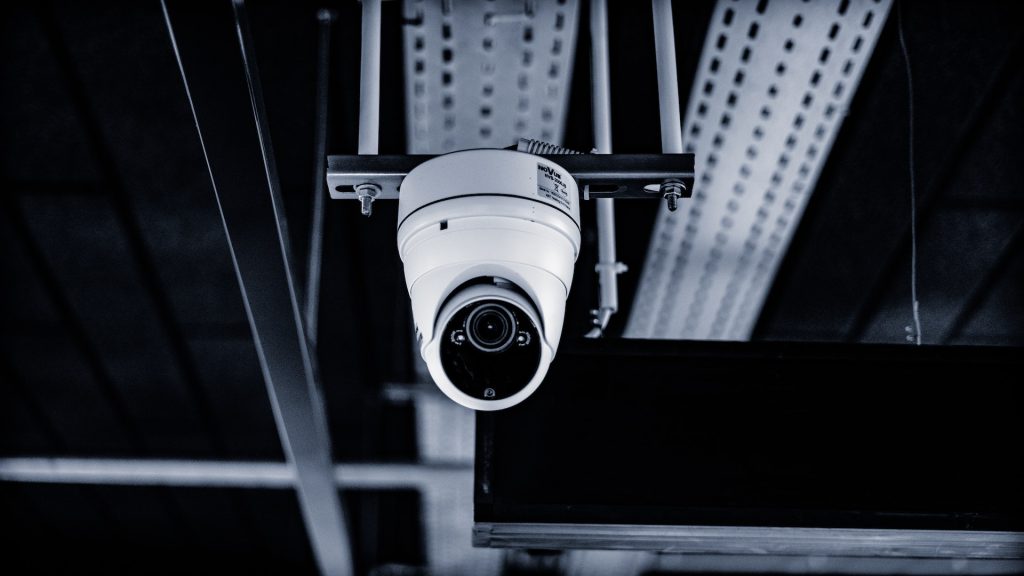
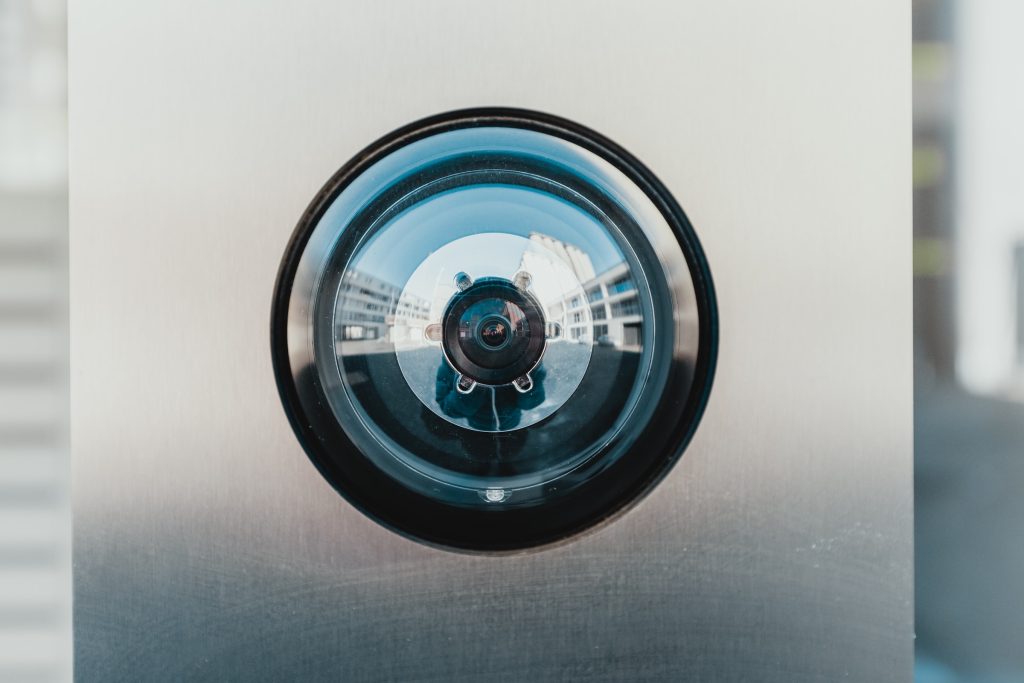
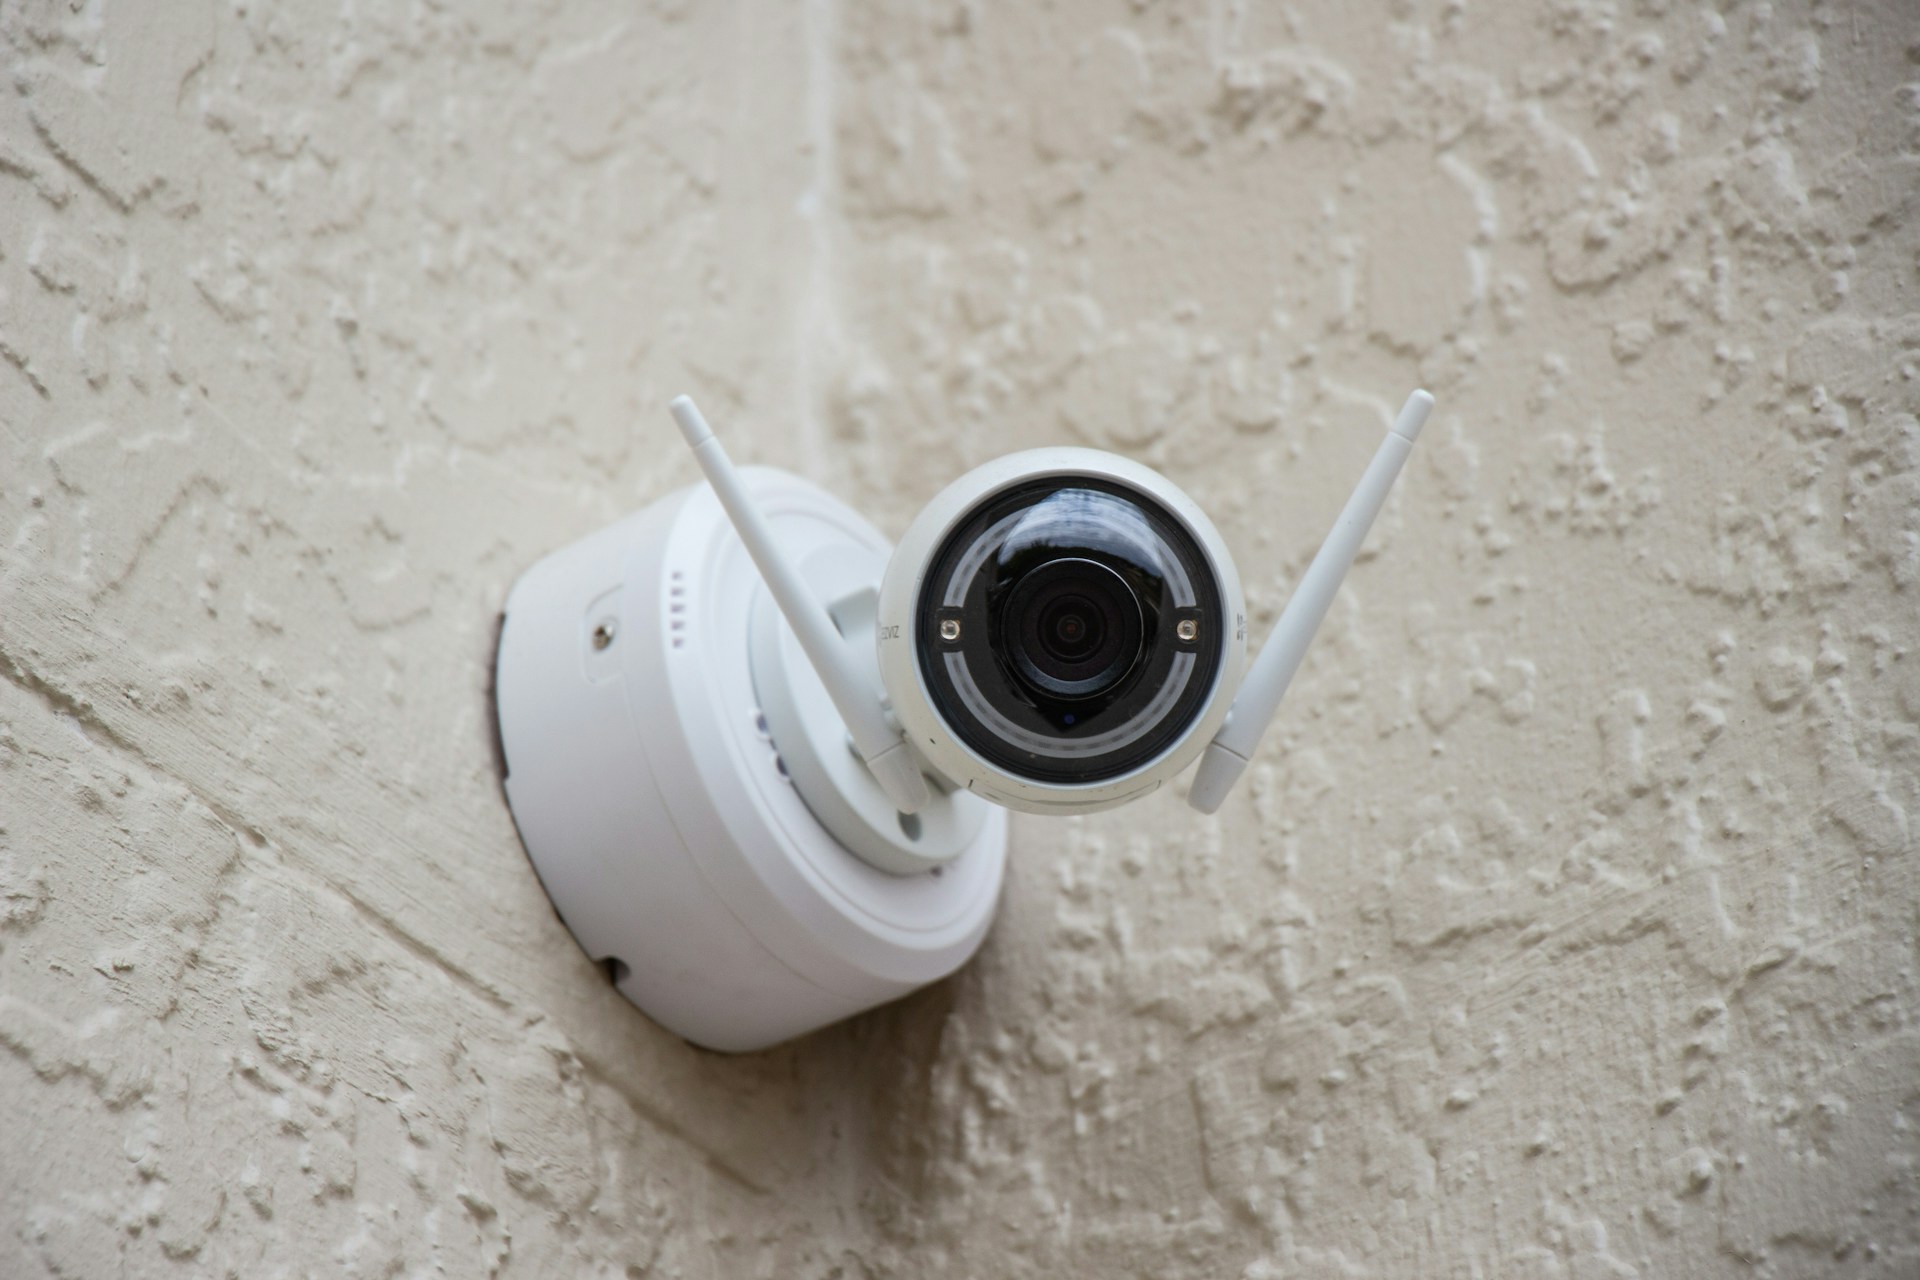
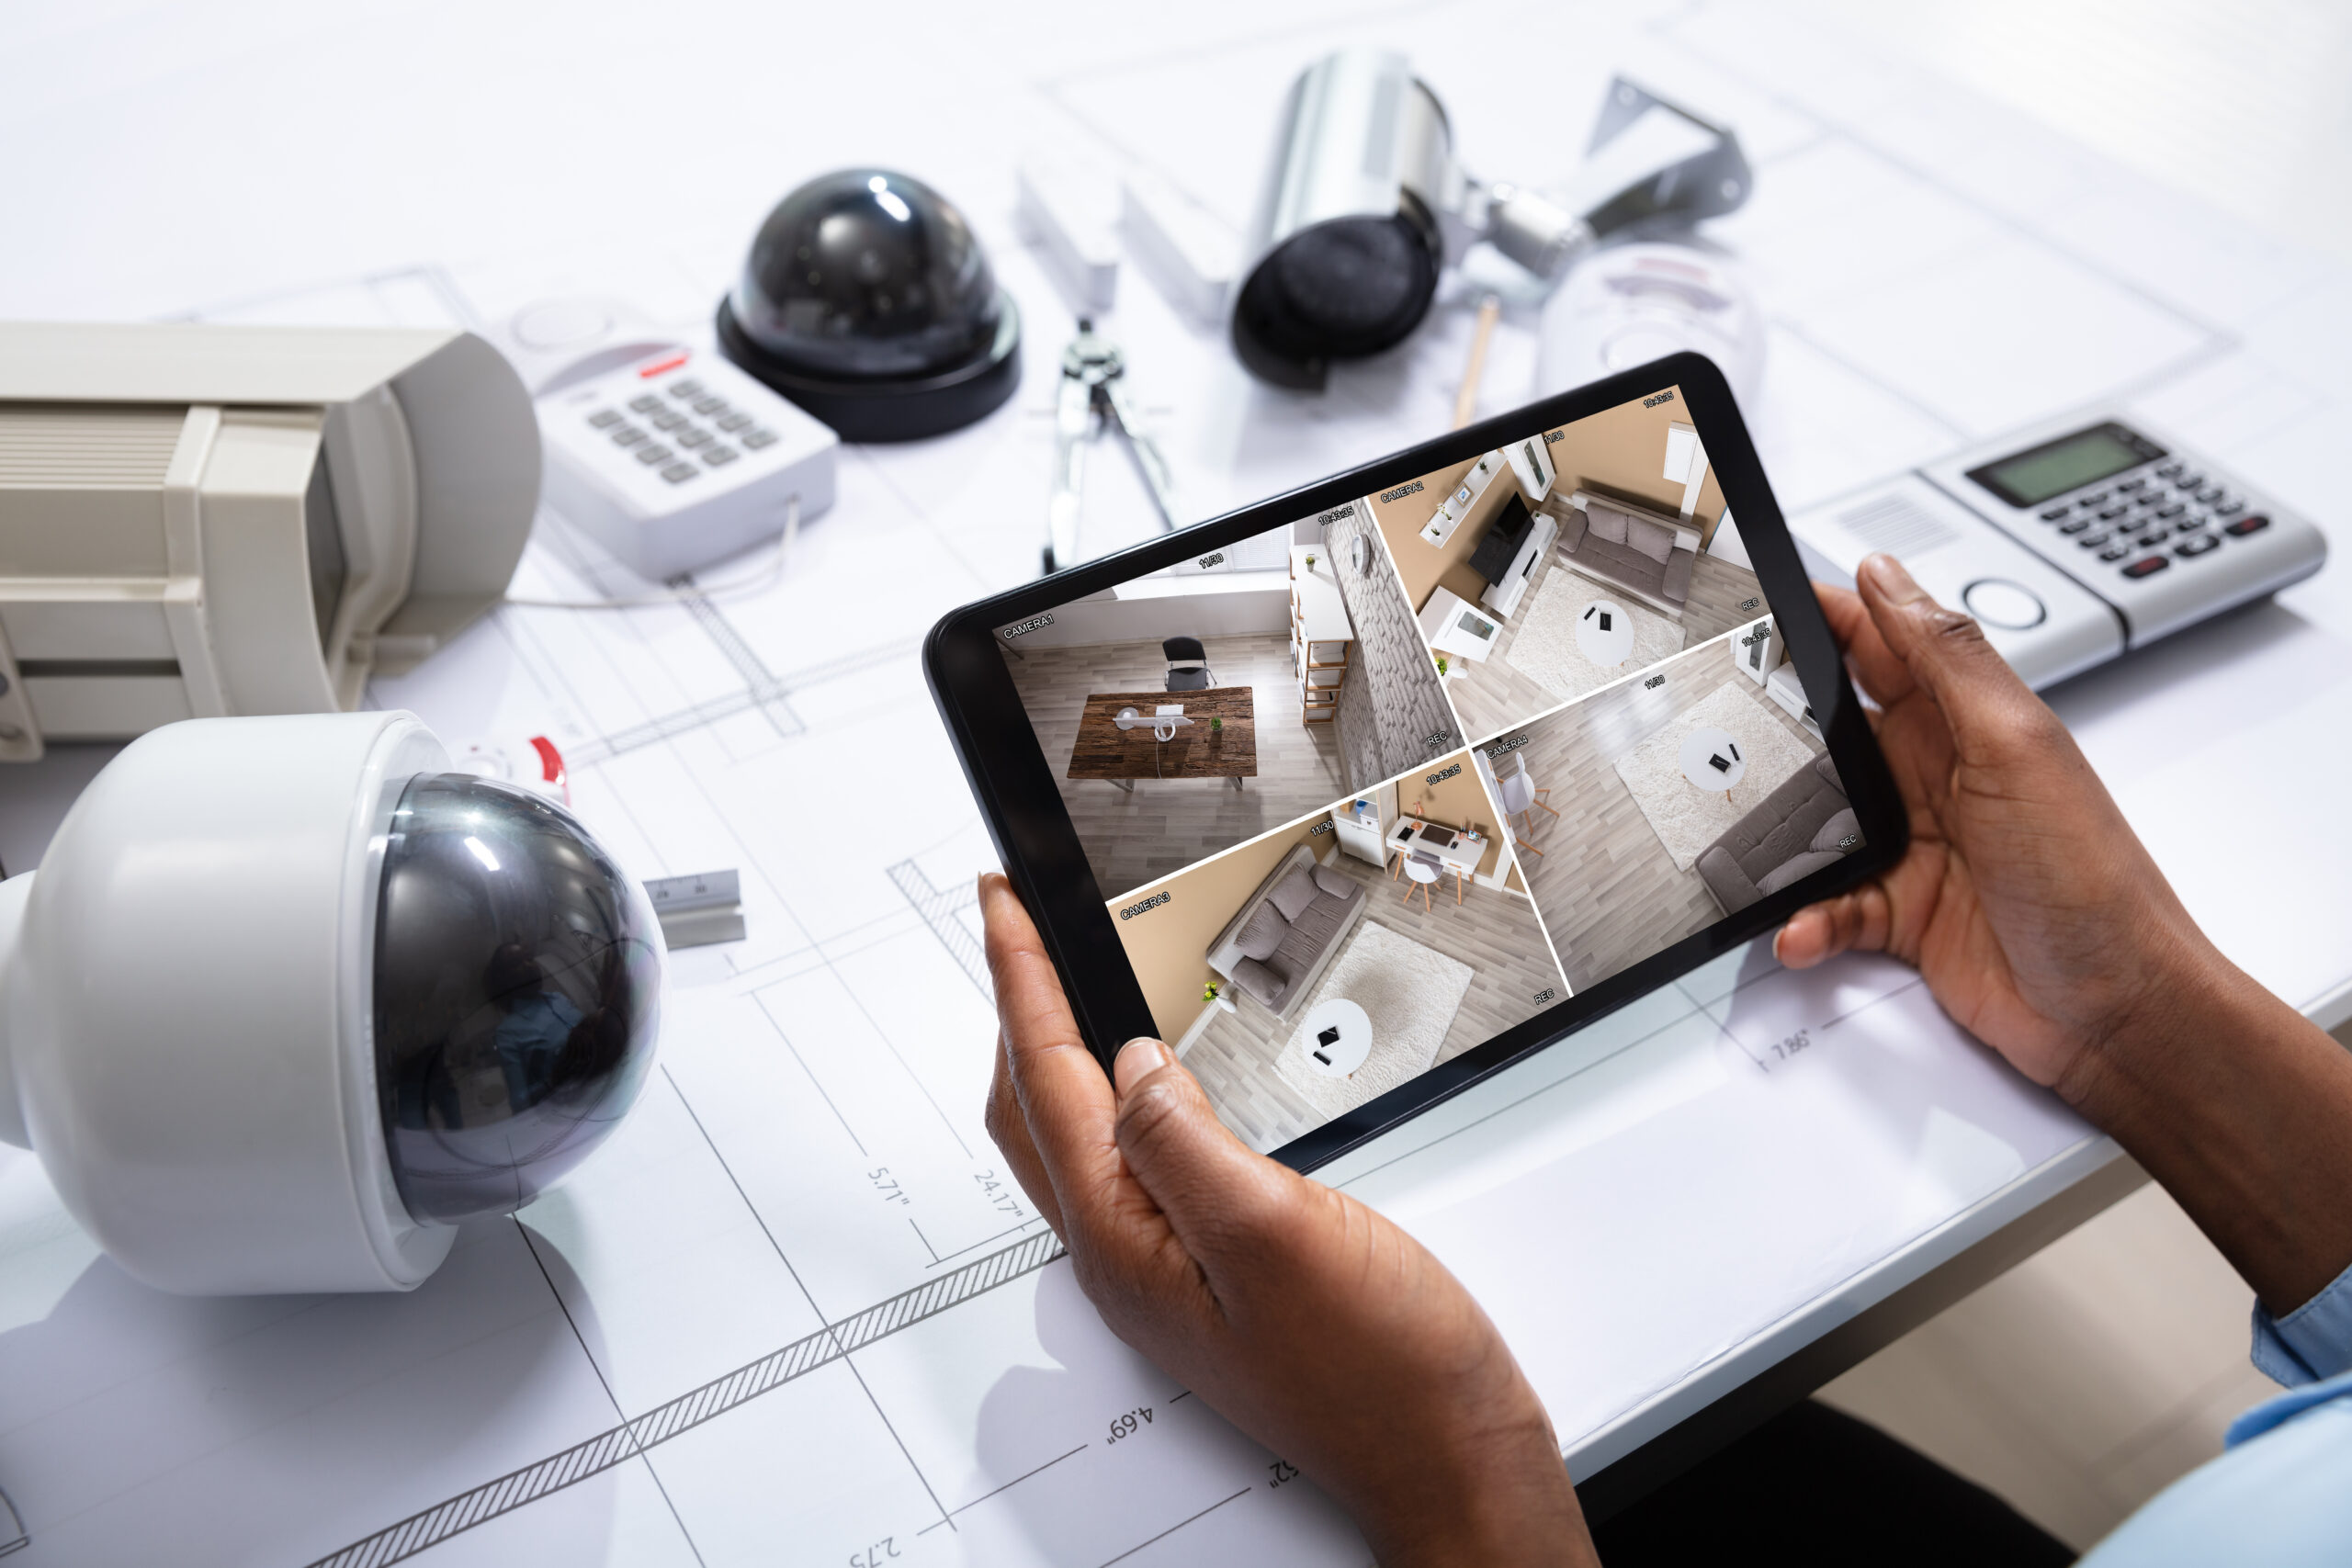
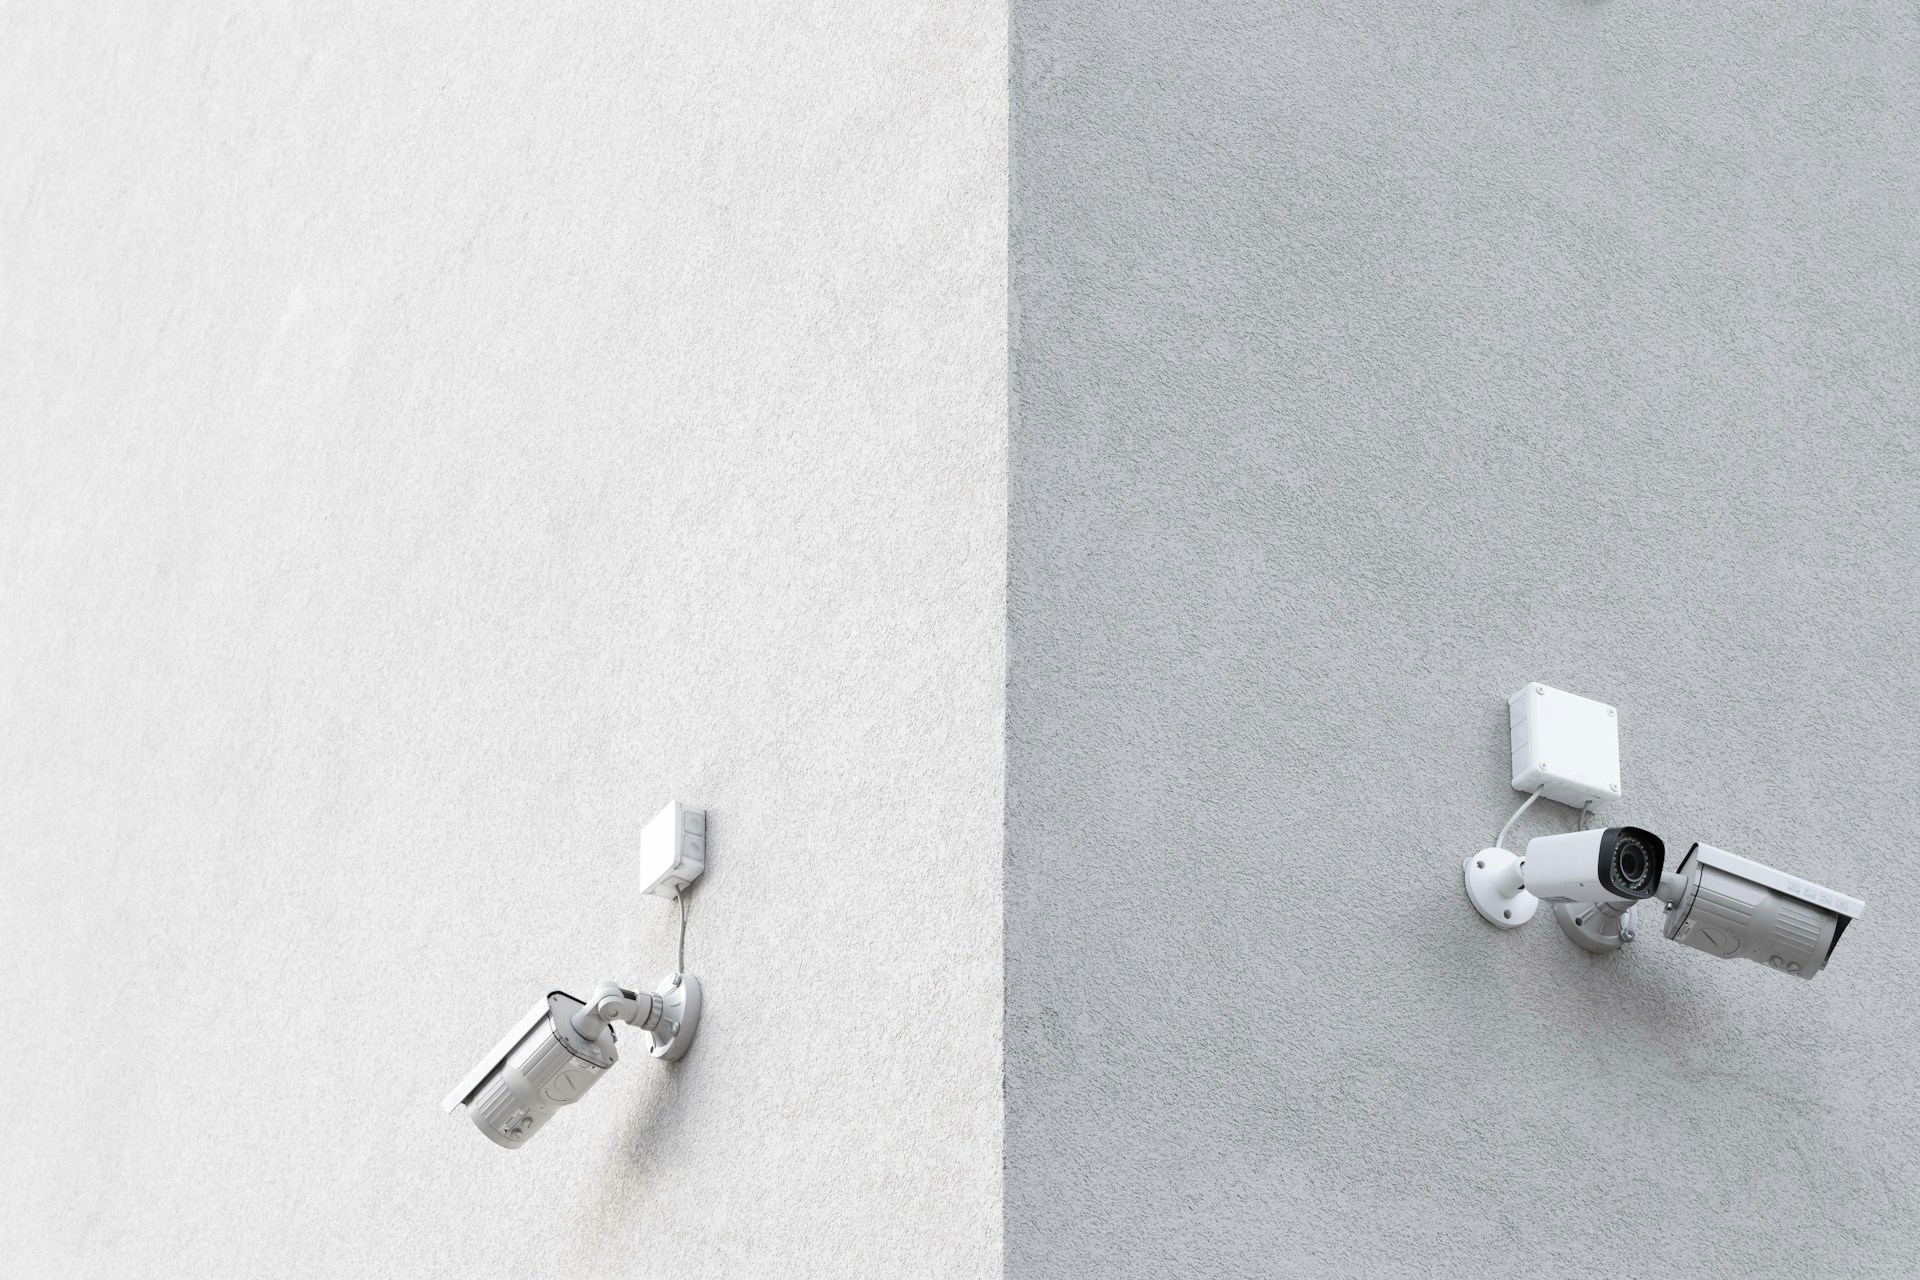
3. Cameras:
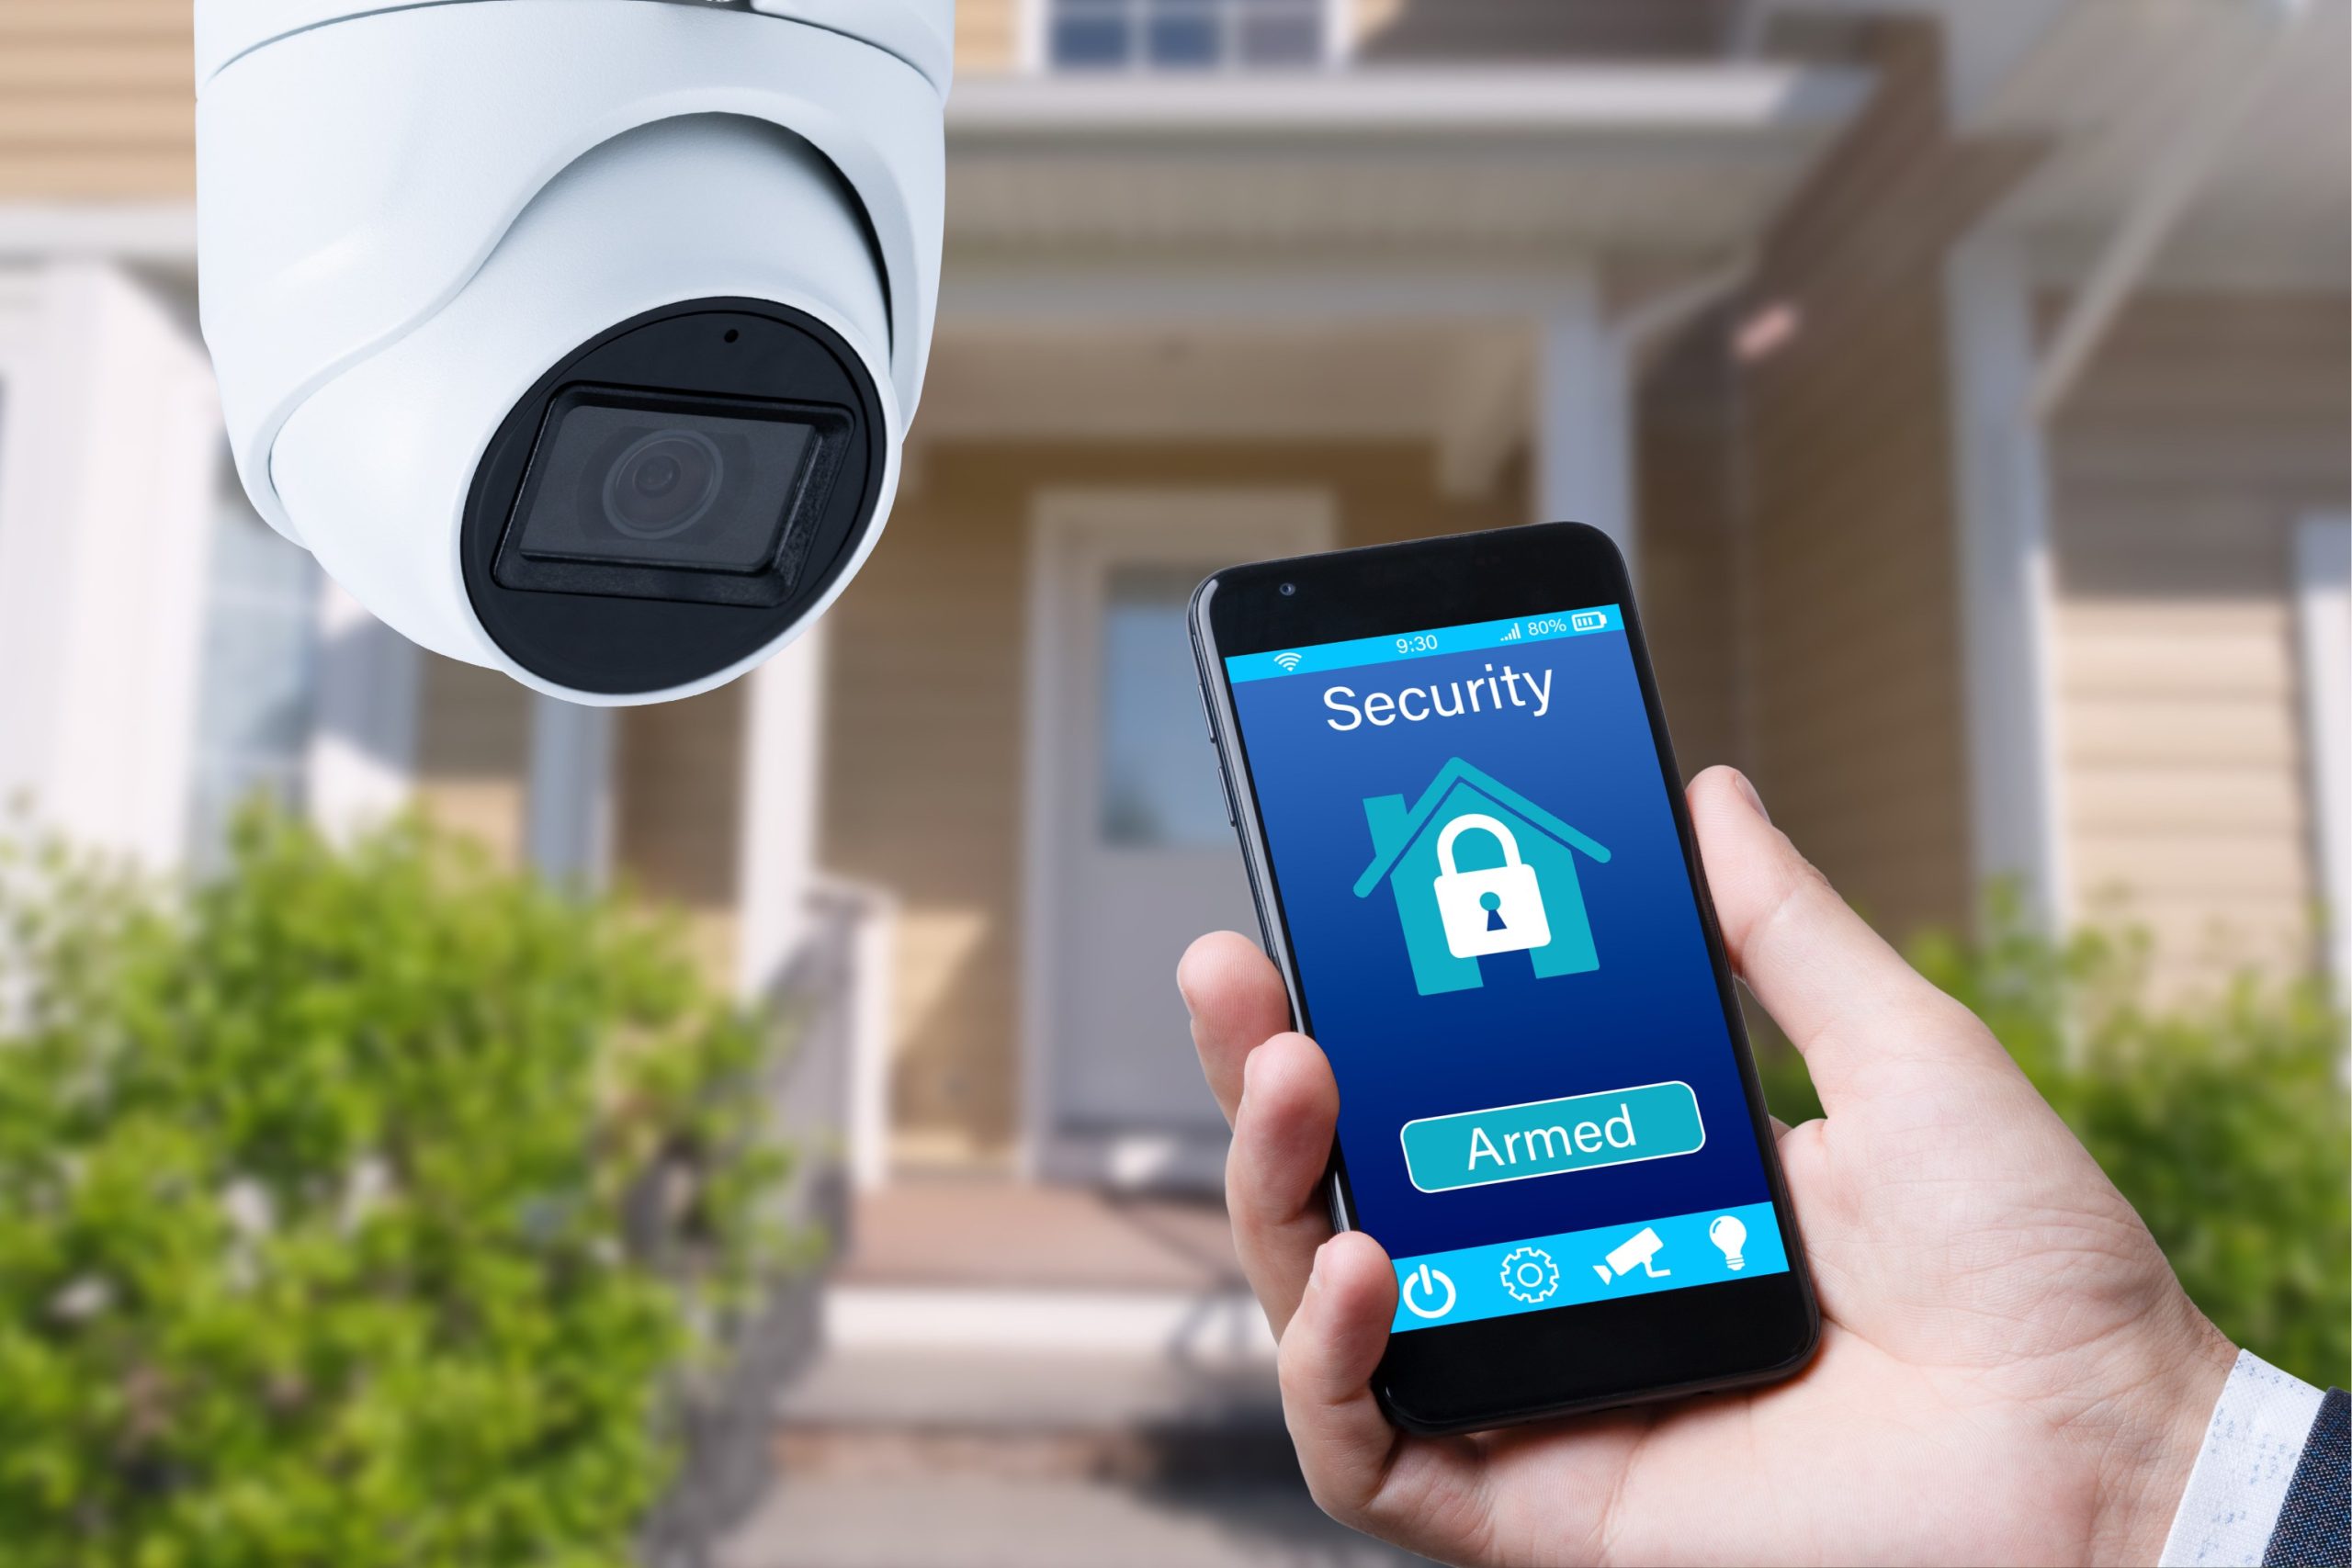
Surveillance cameras are a critical part of many home security systems. They allow homeowners to monitor their property remotely and record footage for evidence. Some cameras also offer features like motion detection and two-way audio.
4. Sirens and Alarms:
Sirens and alarms are activated when a security breach is detected. The loud sound serves to deter and alert occupants and neighbors to a potential threat.
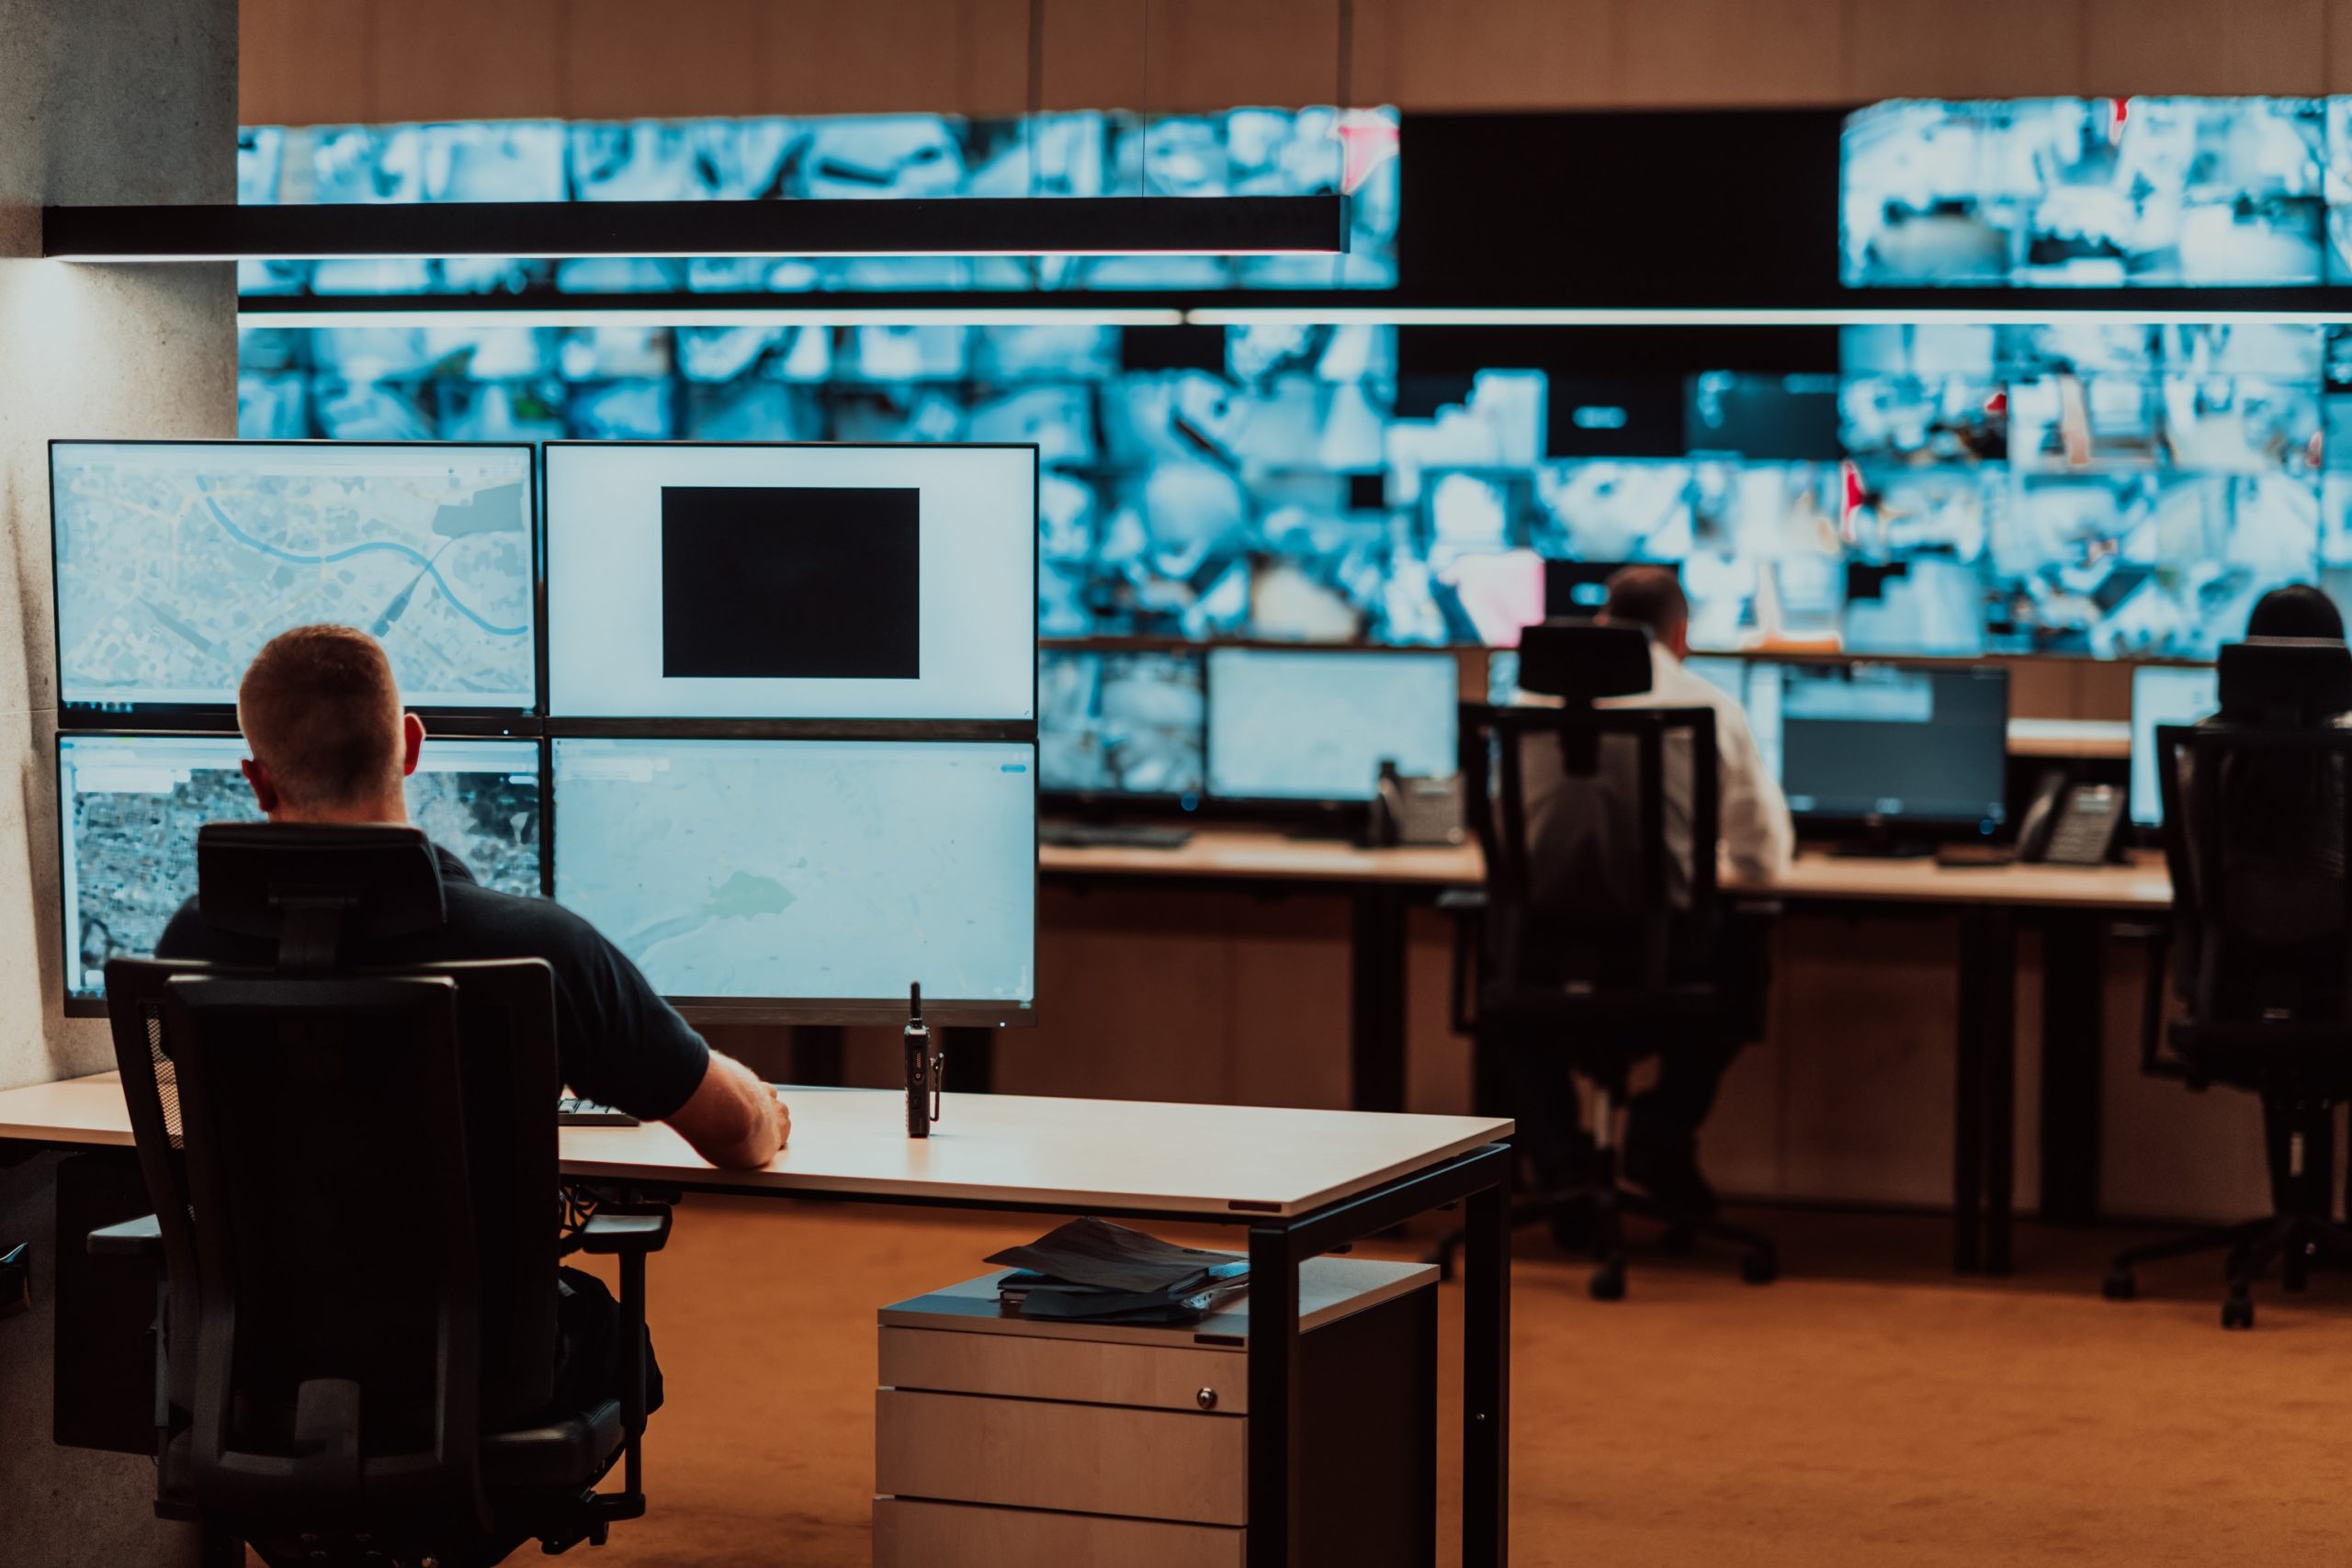
5. Monitoring Services:
Many home security systems provide professional monitoring services. If an alarm triggers, the monitoring center is notified, and trained professionals can assess the situation and, if necessary, dispatch emergency services.
6. Smart Home Integration:
Modern home security systems often integrate with smart home platforms. It allows users to control security devices using smartphones or voice commands. Integration with smart locks, lighting, and thermostats enhances overall home automation and security.
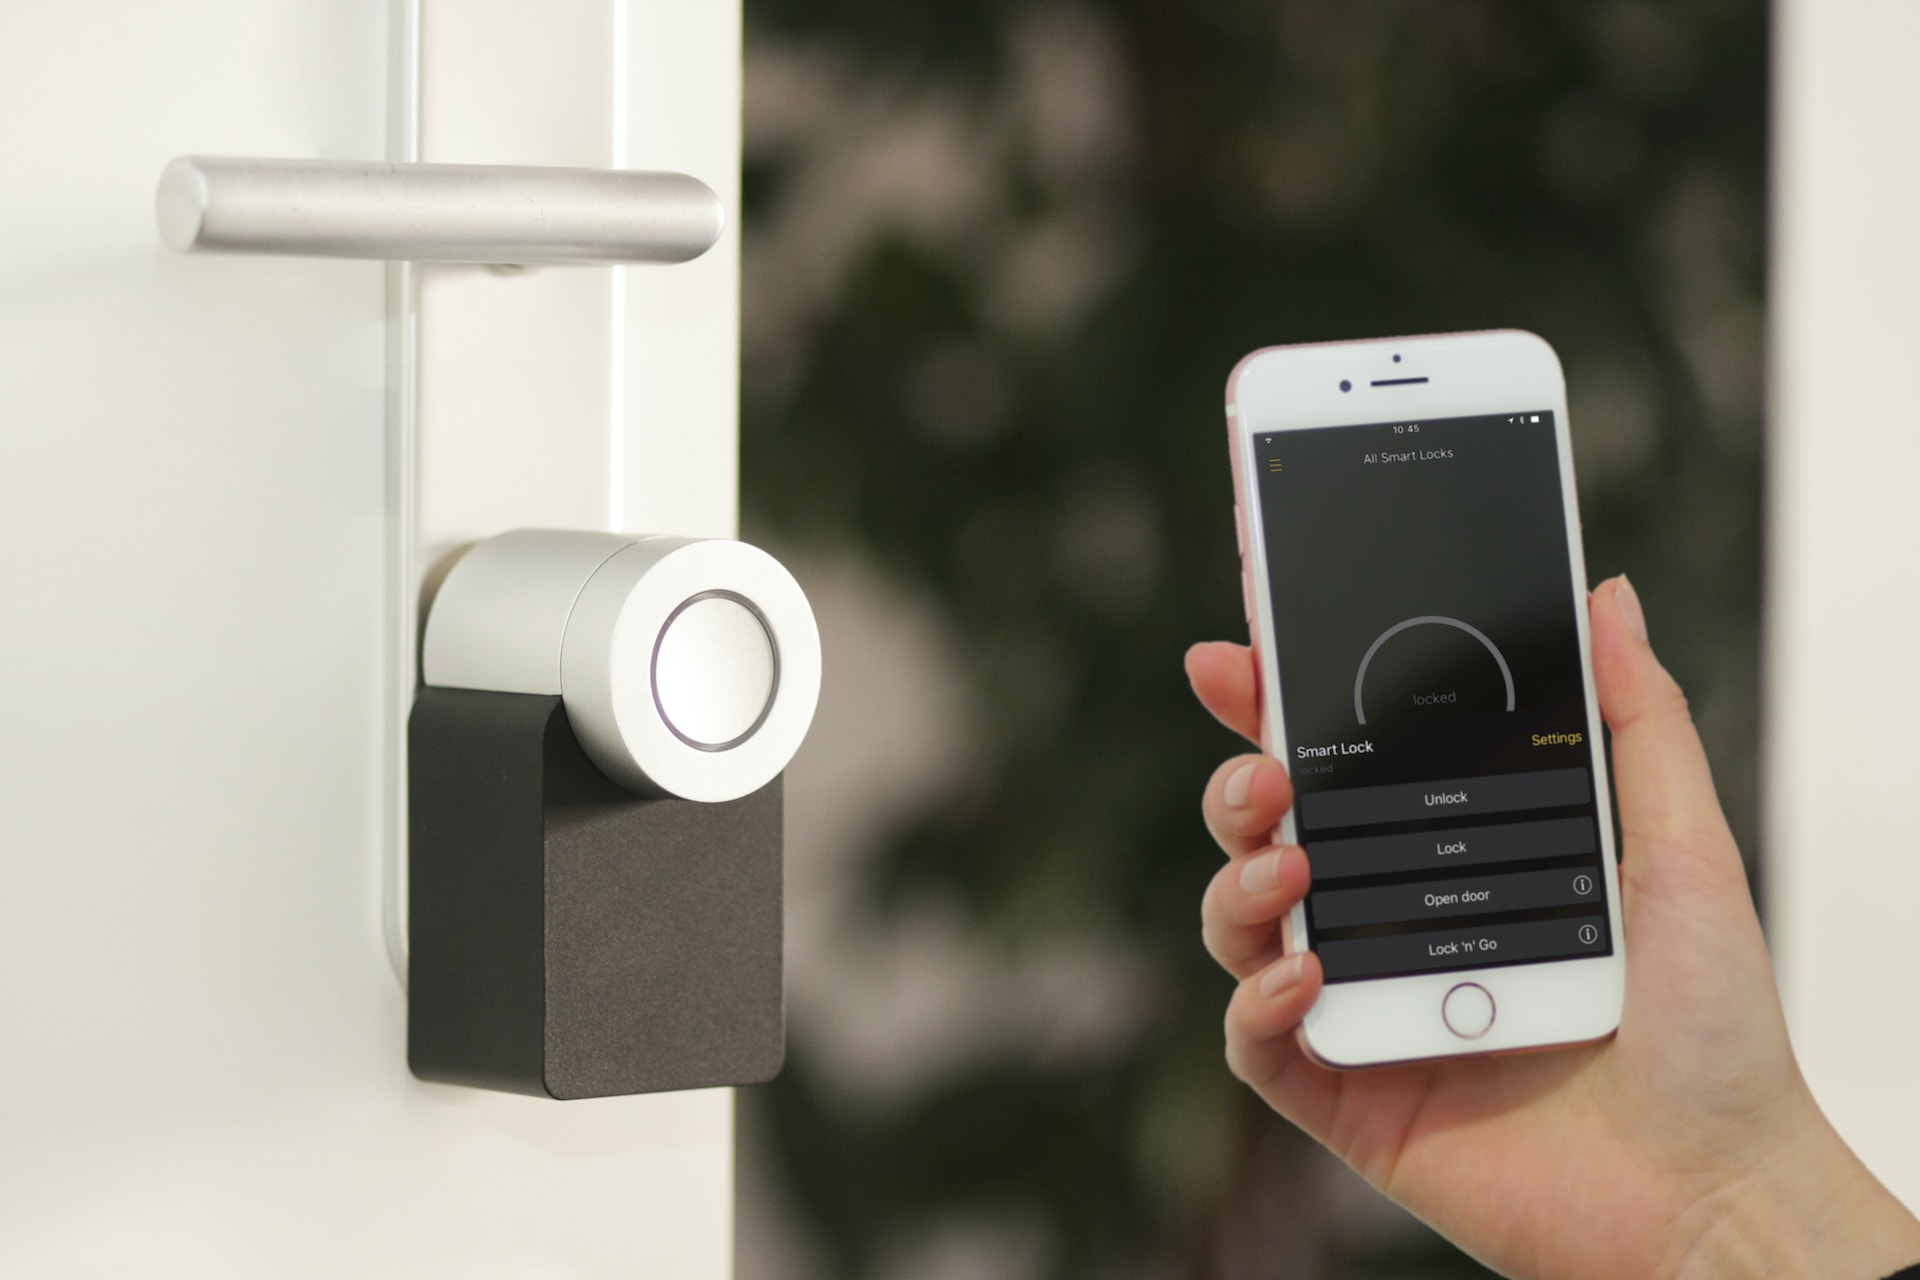
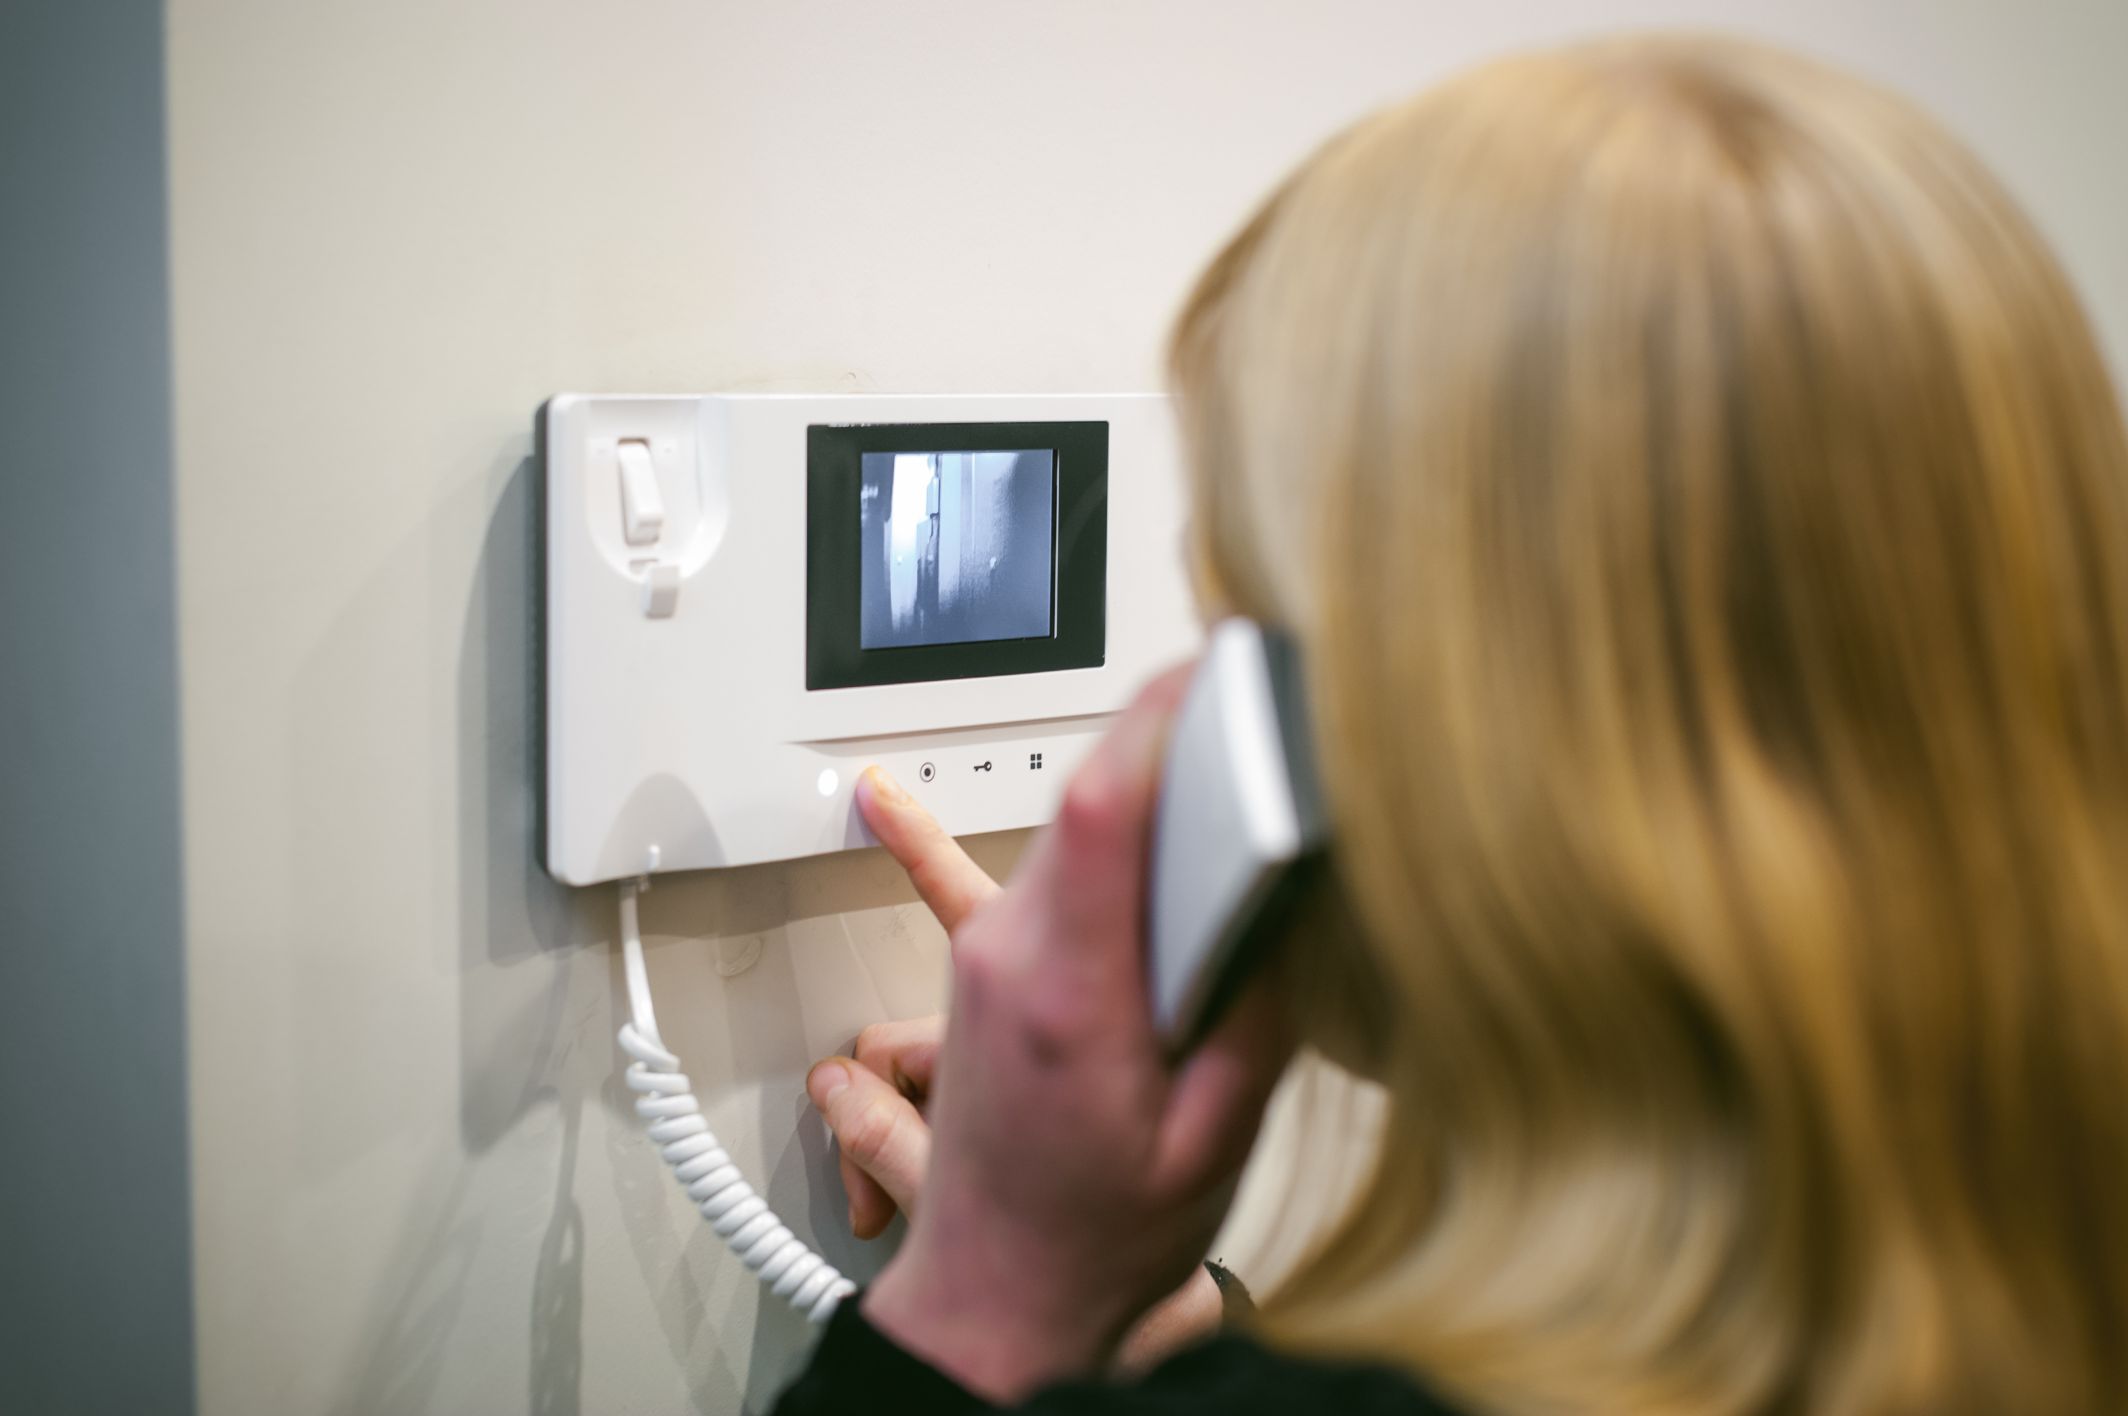
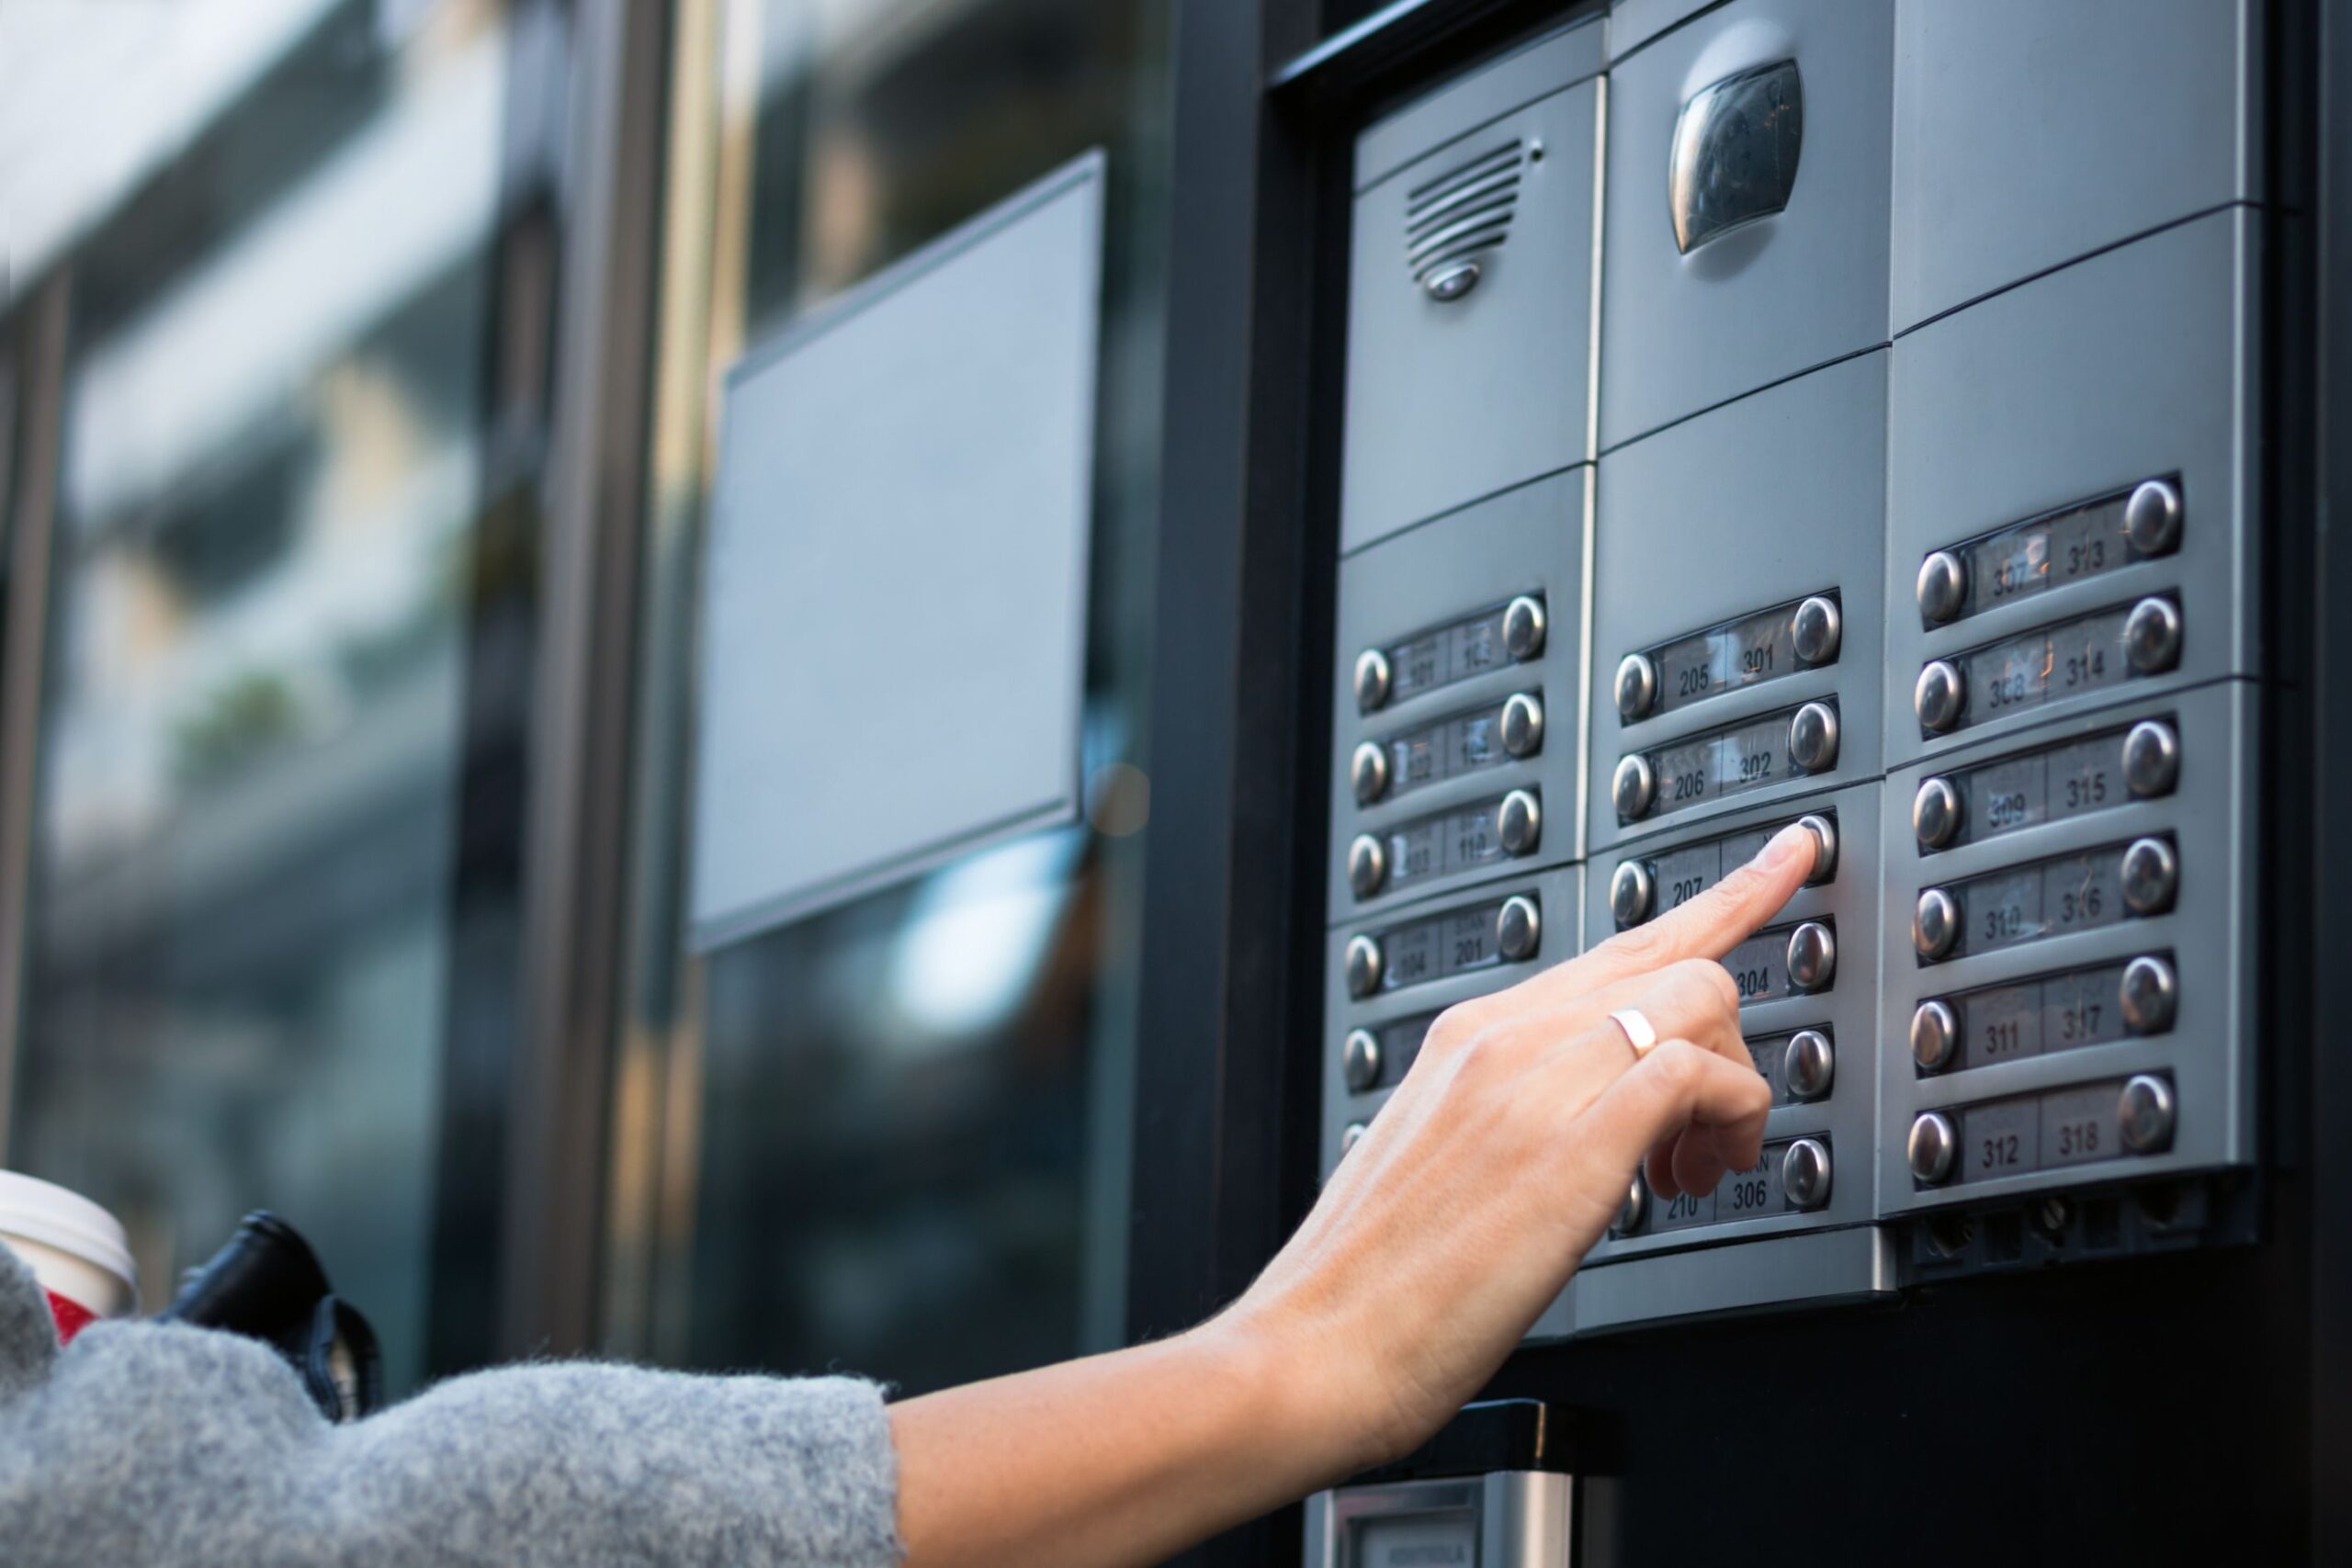
7. Access Control:
Access control features like smart door locks and keyless entry systems allow homeowners to control and monitor who enters their homes. These systems may use key codes, key cards, or biometric authentication.
8. Remote Monitoring:
Many home security systems provide remote monitoring capabilities through mobile apps. Users can check the status of their security system, view camera feeds, and receive alerts while away from home.
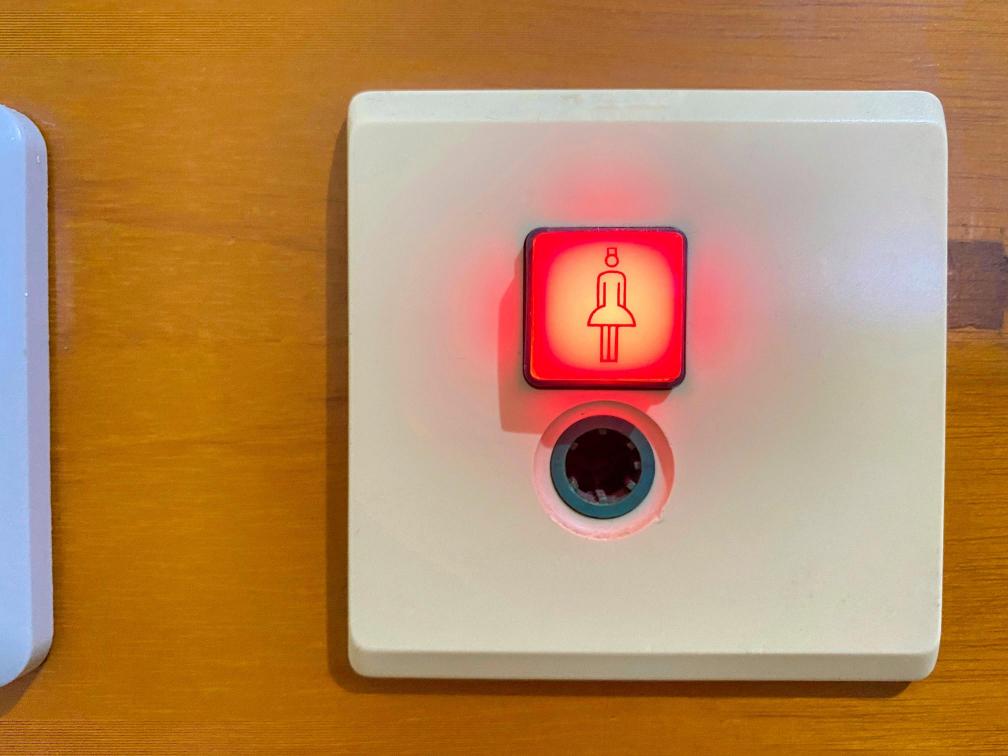
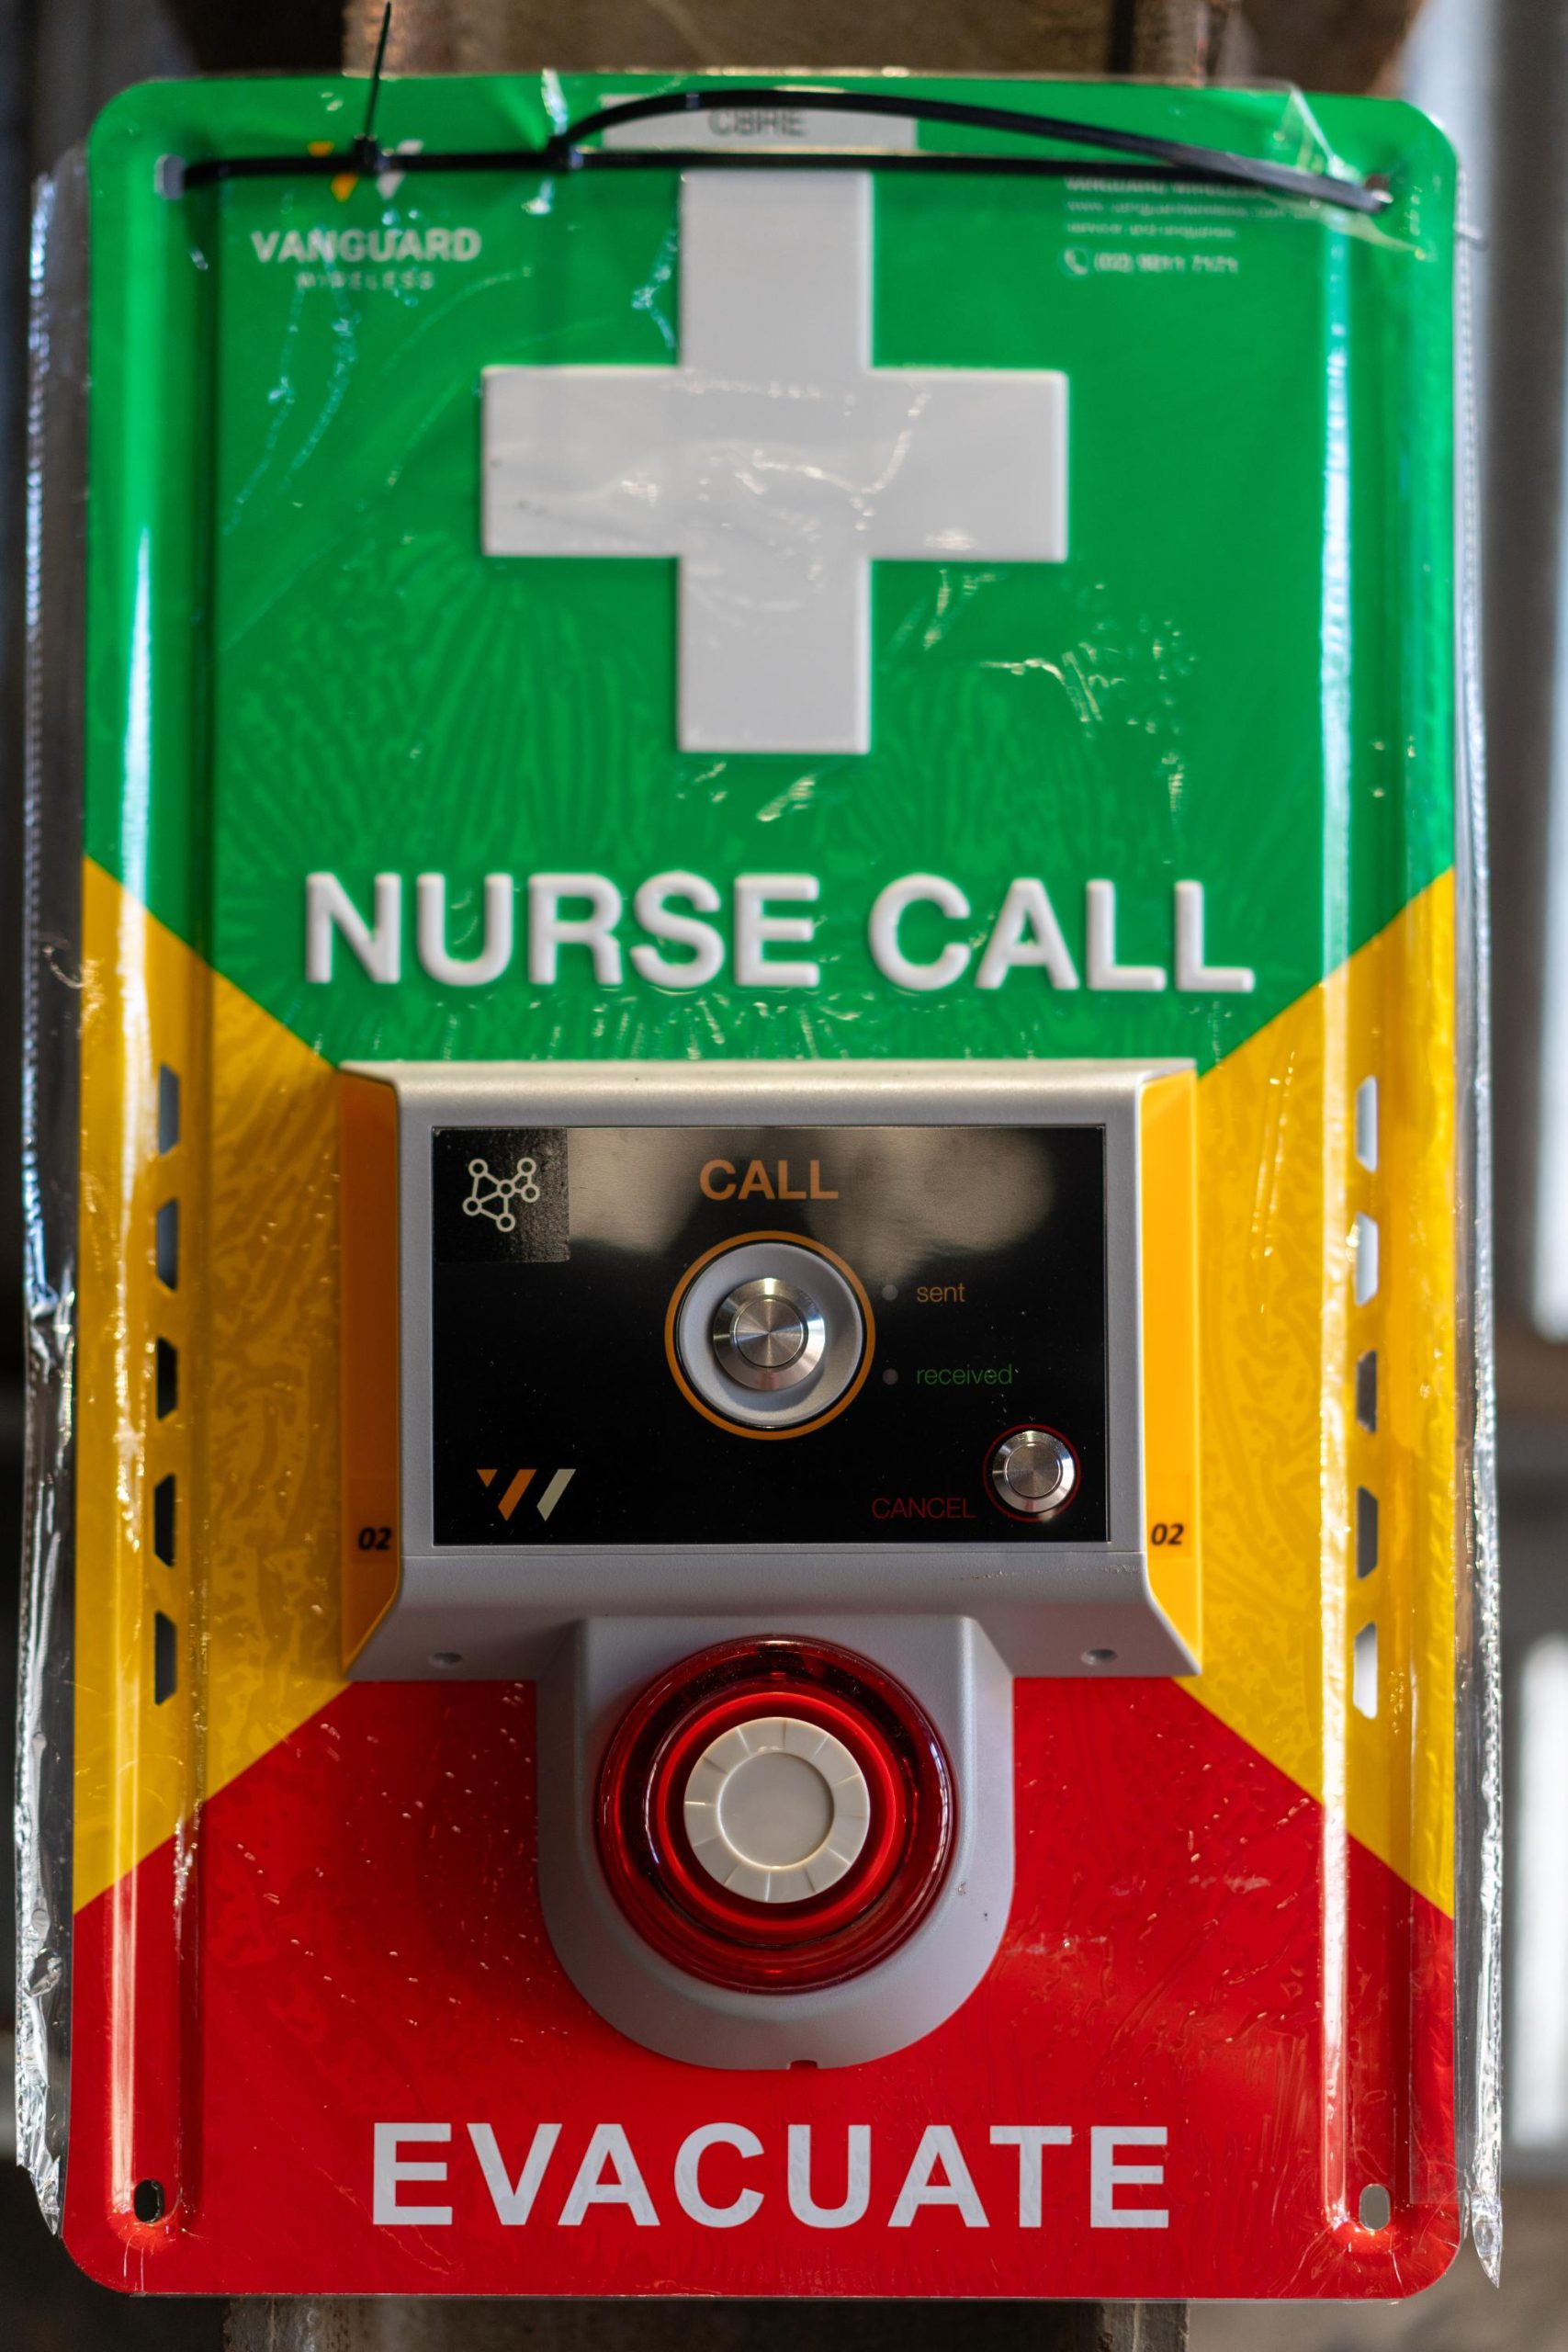
9. Emergency Buttons:
Some systems include panic or emergency buttons, which allow homeowners to summon help quickly in an emergency.
10. Environmental Monitoring:
Beyond security threats, some systems also monitor environmental conditions. It can include temperature sensors to prevent freezing or overheating and humidity sensors to protect against mold.
11. Yard Signs and Window Decals:
Visible signs, such as yard signs and window decals, indicate a home security system is in place and can deter potential intruders.
Benefits of a Home Security System
A home security system offers a range of benefits that contribute to homeowners’ safety, protection, and peace of mind. Here are some key advantages of having a home security system:
1. Deterrence of Burglaries and Break-Ins:
The mere presence of a noticeable home security system, including surveillance cameras and other alarm systems, can be a strong deterrent to potential burglars and intruders. Criminals are less likely to target a home with visible security measures.
2. Protection of Valuables:
Home security systems help safeguard valuable possessions and assets within the home. In the event of a break-in, the system’s alarm and surveillance features can alert authorities, increasing the chances of preventing theft and minimizing losses.
3. Emergency Response:
Monitored home security systems directly link to monitoring centers that can dispatch crucial emergency services, such as police, fire, or medical assistance, in response to an alarm. This rapid response can be essential in situations where immediate intervention is needed.
4. Remote Monitoring and Control:
Many modern home security systems provide remote monitoring through mobile apps. Homeowners can check the status of their security system, watch live camera feeds, and receive real-time alerts using their smartphones or other connected devices, providing continuous control and awareness.
5. Fire and Carbon Monoxide Detection:
Integrated home security systems often include smoke, fire, and carbon monoxide sensors. Early detection of these hazards allows for timely response and potentially saves lives and property.
6. Lower Homeowner’s Insurance Costs:
Installing a home security system may lead to lower homeowner’s insurance premiums. Insurance companies often extend discounts to homeowners with monitored security systems because they are considered lower-risk clients.
7. Peace of Mind:
Knowing that your home is protected around the clock provides peace and reassurance. A security system allows you to feel confident that your loved ones are safe and your property is secure, whether at home or away.
8. Integration with Smart Home Devices:
Many home security systems integrate with smart home devices, allowing seamless automation and control. It includes smart locks, smart lighting, and smart thermostats, enhancing overall convenience and efficiency.
9. Evidence in Legal Proceedings:
Recorded footage from surveillance cameras can serve as valuable evidence in legal proceedings in the untoward event of a security breach or break-in. It can also aid law enforcement in identifying and apprehending perpetrators.
10. Reduced False Alarms:
Modern security systems often include features to reduce false alarms, such as advanced motion detection and pet-friendly sensors. These features help prevent unnecessary disruptions and ensure that genuine threats trigger alarms.
11. Increased Property Value:
A home security system’s presence can enhance a property’s perceived value. Potential buyers may view a secured home as more attractive and be willing to pay a premium for the added security features.
12. Customizable Security Solutions:
Homeowners can customize their security systems based on their specific needs and preferences. Whether it’s focusing on door and window sensors, surveillance cameras, or environmental monitoring, the flexibility of customization ensures tailored protection.
13. Notification of Home Access:
With access control features like smart locks, homeowners can receive notifications when doors are unlocked or opened. It adds an extra layer of alertness and security, especially when family members or service providers enter the home.
Investing in a home security system is a proactive measure that addresses potential risks and vulnerabilities, providing extensive protection for your home, belongings, and loved ones. The combination of deterrence, rapid response, and remote monitoring contributes to a safer and more secure living environment.
Cost of Home Security Systems
The cost of a home security system may vary widely according to various factors, including the type of system, the features included, the level of monitoring, and the provider you choose. Here are crucial considerations that can influence the cost of a home security system:
1. Type of System:
The type of security system you choose can impact the cost. Traditional wired systems may involve higher installation costs than wireless or do-it-yourself (DIY) systems, which are often more affordable.
2. Equipment Costs:
The cost of security equipment, such as cameras, sensors, control panels, and alarms, contributes to the overall expense. Some providers offer equipment packages, while others allow customization of your security system based on your specific needs.
3. Installation Fees:
Professional installation services may incur additional fees. Some providers offer DIY installation options, which can be more cost-effective but may require more effort.
4. Monitoring Services:
Monitored home security systems typically involve monthly monitoring fees. The cost can vary based on the level of monitoring and the services provided. Basic monitoring may include alerting authorities in the event of an alarm, while advanced services may include remote access, automation, and additional features.
5. Contract Terms:
Some home security providers require long-term contracts, while others offer month-to-month services. Longer contracts may come with equipment subsidies, but they also tie you to the provider for an extended period.
6. Smart Home Integration:
Systems that integrate with smart home devices and platforms may mean higher upfront costs but offer additional convenience and features. Consider whether smart home integration aligns with your preferences and budget.
7. DIY vs. Professional Monitoring:
DIY systems without professional security monitoring are generally more affordable, as they do not incur monthly monitoring fees. However, professional monitoring provides an added layer of security and may be preferred by those who want a hands-off approach to security.
8. Additional Features:
Advanced features like environmental monitoring (smoke, fire, carbon monoxide), access control, and home automation can increase costs. Determine whether these features are essential for your security needs.
9. Insurance Discounts:
Some homeowners insurance providers present discounts for homes with monitored security systems. While this can offset costs, it’s essential to consider the overall benefits of a security system beyond potential insurance discounts.
10. Upfront Costs vs. Monthly Fees:
Some providers may offer lower upfront costs but higher monthly monitoring fees, while others may offer higher upfront costs with lower monthly expenses. Consider your budget and preferences when evaluating these cost structures.
11. Scalability:
If you intend to expand or upgrade your security system in the future, check whether the chosen provider offers scalable options. Some providers allow for easy addition of devices, while others may require significant changes to the system.
It’s important to acquire detailed quotes from multiple reputable security system providers to compare costs and services. While there are expenses associated with home security systems, many homeowners consider the investment worthwhile for improved protection, peace of mind, and potential insurance savings. Remember that the overall cost can be influenced by factors such as the size of your home, the desired level of security, and any specific features or integrations you prioritize.


 You can arm the alarm system once you’ve chosen the arming mode and entered your passcode. Press the designated button or enter a specific command on the keypad to initiate the process. Your system may provide an exit delay to allow you to leave the premises without triggering the alarm.