Fire Alarm Inspections: How Often Does Arizona Law Require Them?
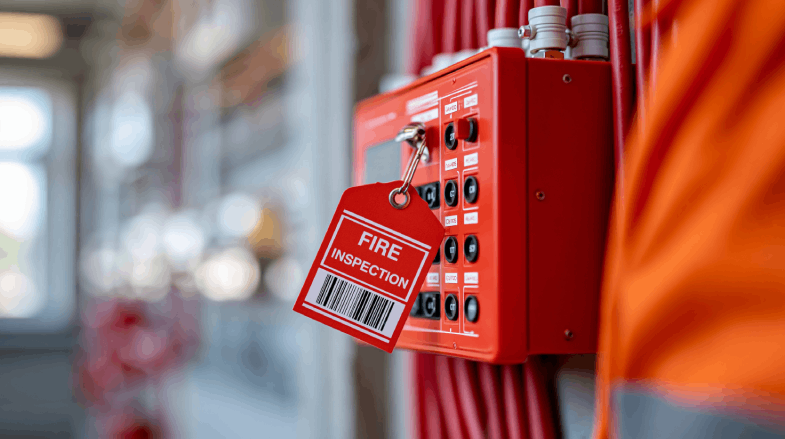
Commercial property owners often assume fire alarm inspections happen once a year. The actual fire alarm inspection Arizona code requires […]
Commercial property owners often assume fire alarm inspections happen once a year. The actual fire alarm inspection Arizona code requires […]
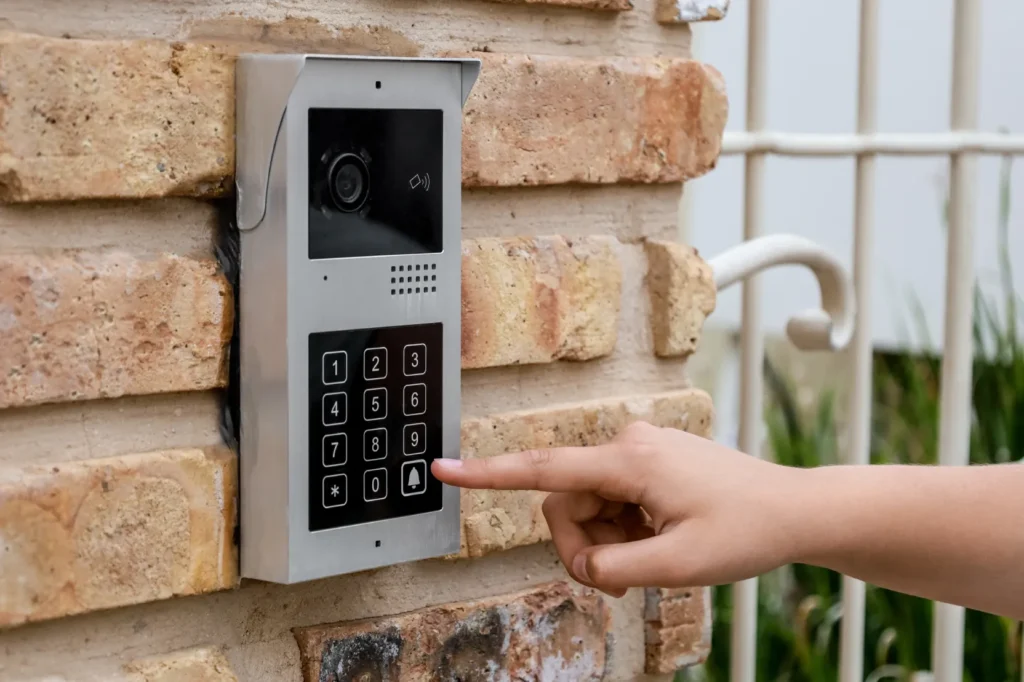
Table of Contents Arizona intercom systems have evolved far beyond the simple buzzer panels found in older apartment buildings. Today
Do you know how to fix the intercom system? Fixing an intercom system requires systematic troubleshooting and, depending on the

Table of Contents Alarm monitoring refers to a service provided by a professional security company or central monitoring station that
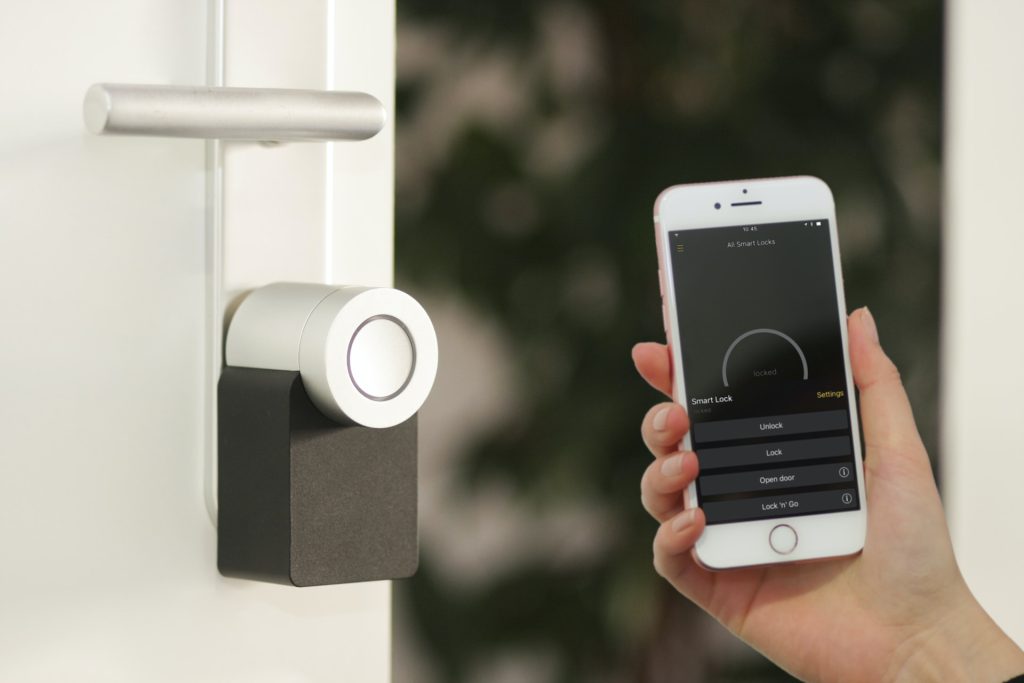
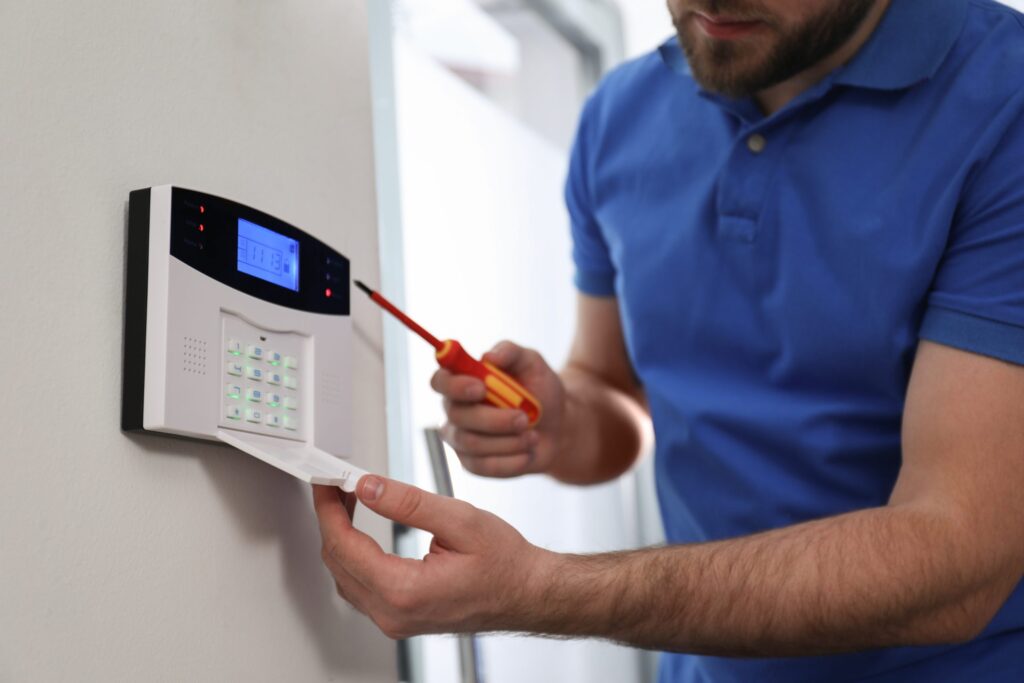
Table of Contents A home security system is a network of devices and components designed to enhance the safety and
Alarm systems are crucial to modern security setups, offering peace of mind and protection for homes and businesses alike. However,
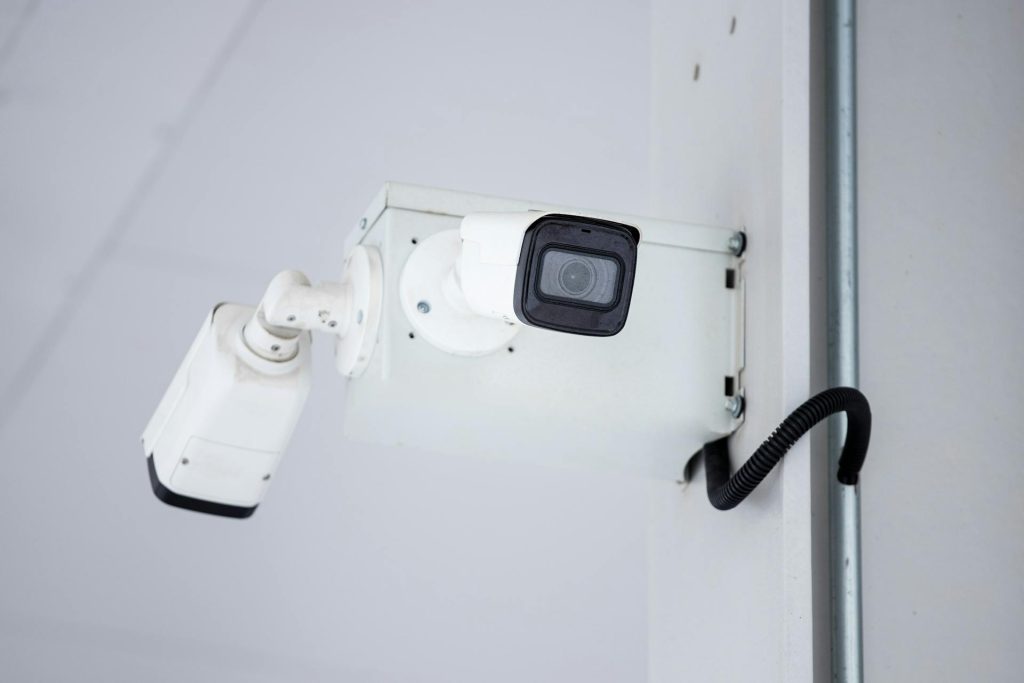
Table of Contents In an increasingly interconnected world, security is among the top priority for homeowners and businesses. A security

Securing your home is a top priority, and one of the most effective ways to do this is by installing
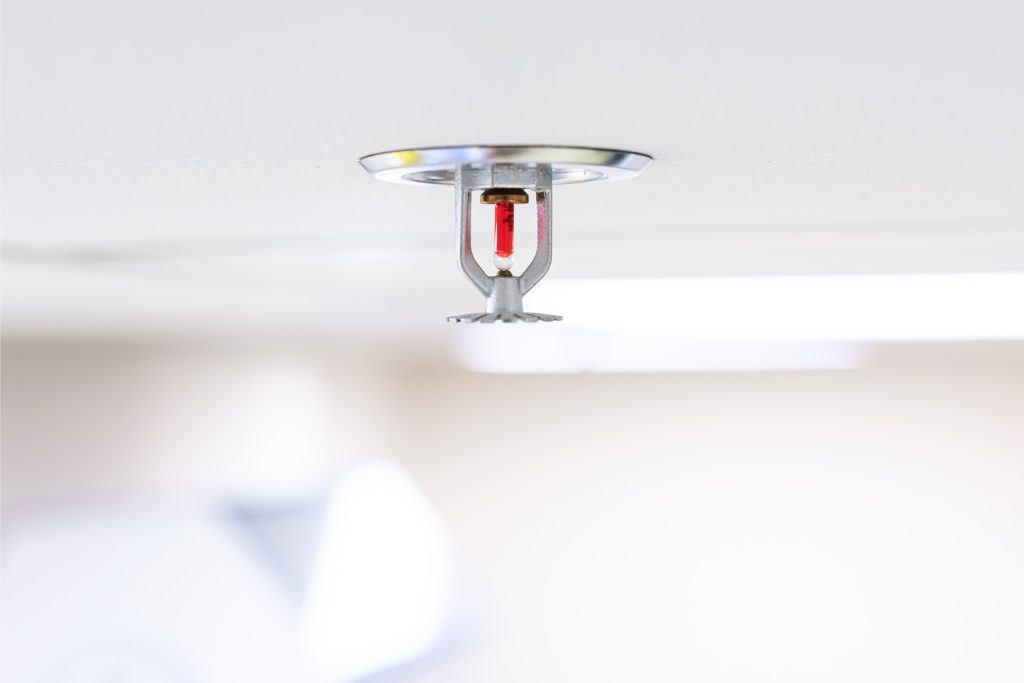
Table of Contents A fire sprinkler is a vital component of fire protection and suppression systems designed to automatically release

Intercom systems have come a long way from the simple voice communication devices often found in older apartment buildings. Today,