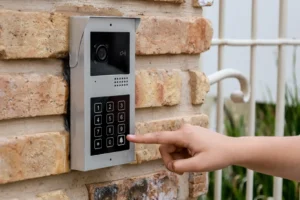
The primary purpose of low-voltage wiring is to connect low-powered electrical devices to power sources such as batteries or transformers. Sets for a railroad or racing car competition are two examples, as are LED lights. Sometimes the wires become disconnected or damaged, which results in the electrical device being unable to receive electricity. When you test low voltage wiring, the use of a multimeter is a relatively straightforward method. However, pinpointing the precise location of the wiring issue can be challenging.
How to Test Low Voltage Wiring
Check the label that is attached to your battery or transformer.
You need to be aware of the voltage that it generates. Take a note in your head about the voltage.
Activate the source of the power.
It allows you to determine whether electricity is reaching the low-voltage wires in the first place.
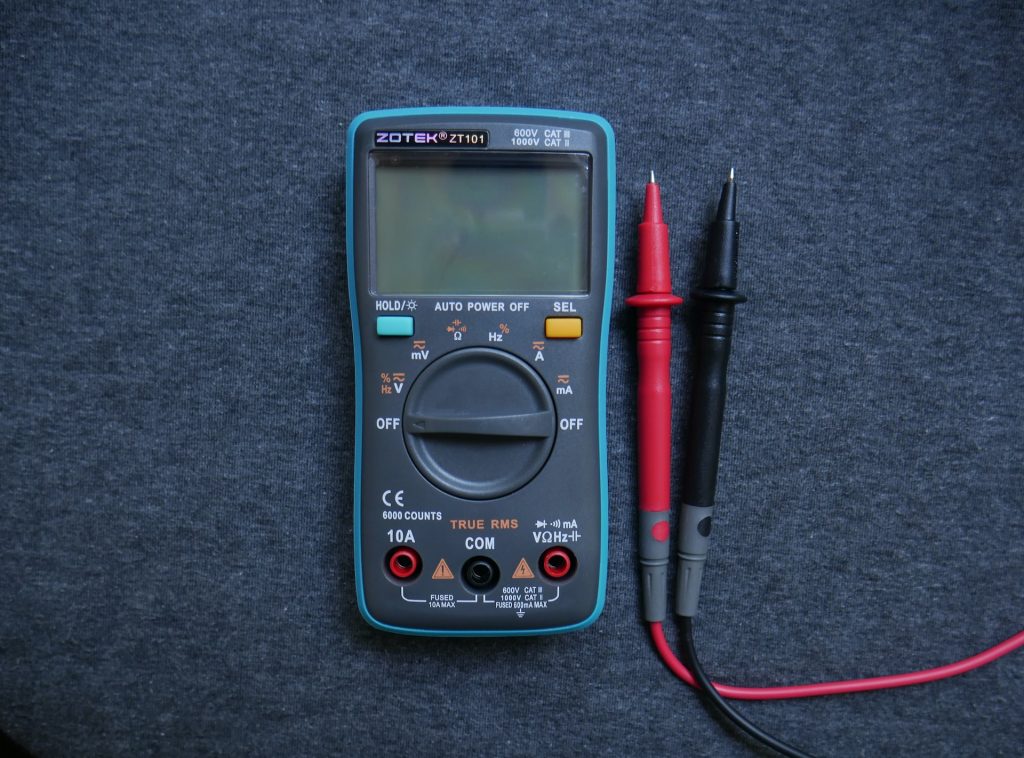
Put the multimeter into operation.
You can set it to read voltage by rotating the dial or pressing the appropriate button on the meter. The specific method you use will depend on the model of the meter. Since multimeters can also measure amperes and ohms in addition to voltage, it is essential to ensure that you use the appropriate settings.
If the colored plugs that are located at the end of the wires that connect to the multimeter are not already connected, you will need to insert them into the sockets. The black plug should be inserted into the black socket, while you should insert the red plug into the red socket. If multiple red sockets exist, insert the red plug into the red socket marked for voltage. This socket is typically marked with a V. If there are numerous red sockets, insert the red plug into the one observed for voltage.
Connect the terminals on the power source to the two sensors attached to the ends of the red and black wires from the meter. You are required to attach the black sensor to the terminal that is marked with a “-” sign and the red sensor to the terminal that is labeled with a “+” sign.
Test the low voltage wiring with the meter.
It should display a voltage comparable to the one printed on the label of the battery or transformer. If there is no reading, either the battery is dead and needs to be replaced, or the transformer isn’t working, in which case you need to have it checked out by low-voltage professionals. If there is no reading, the battery is dead and needs to be replaced.
Be sure to inspect the points on the power source where the wires connect to the terminals.
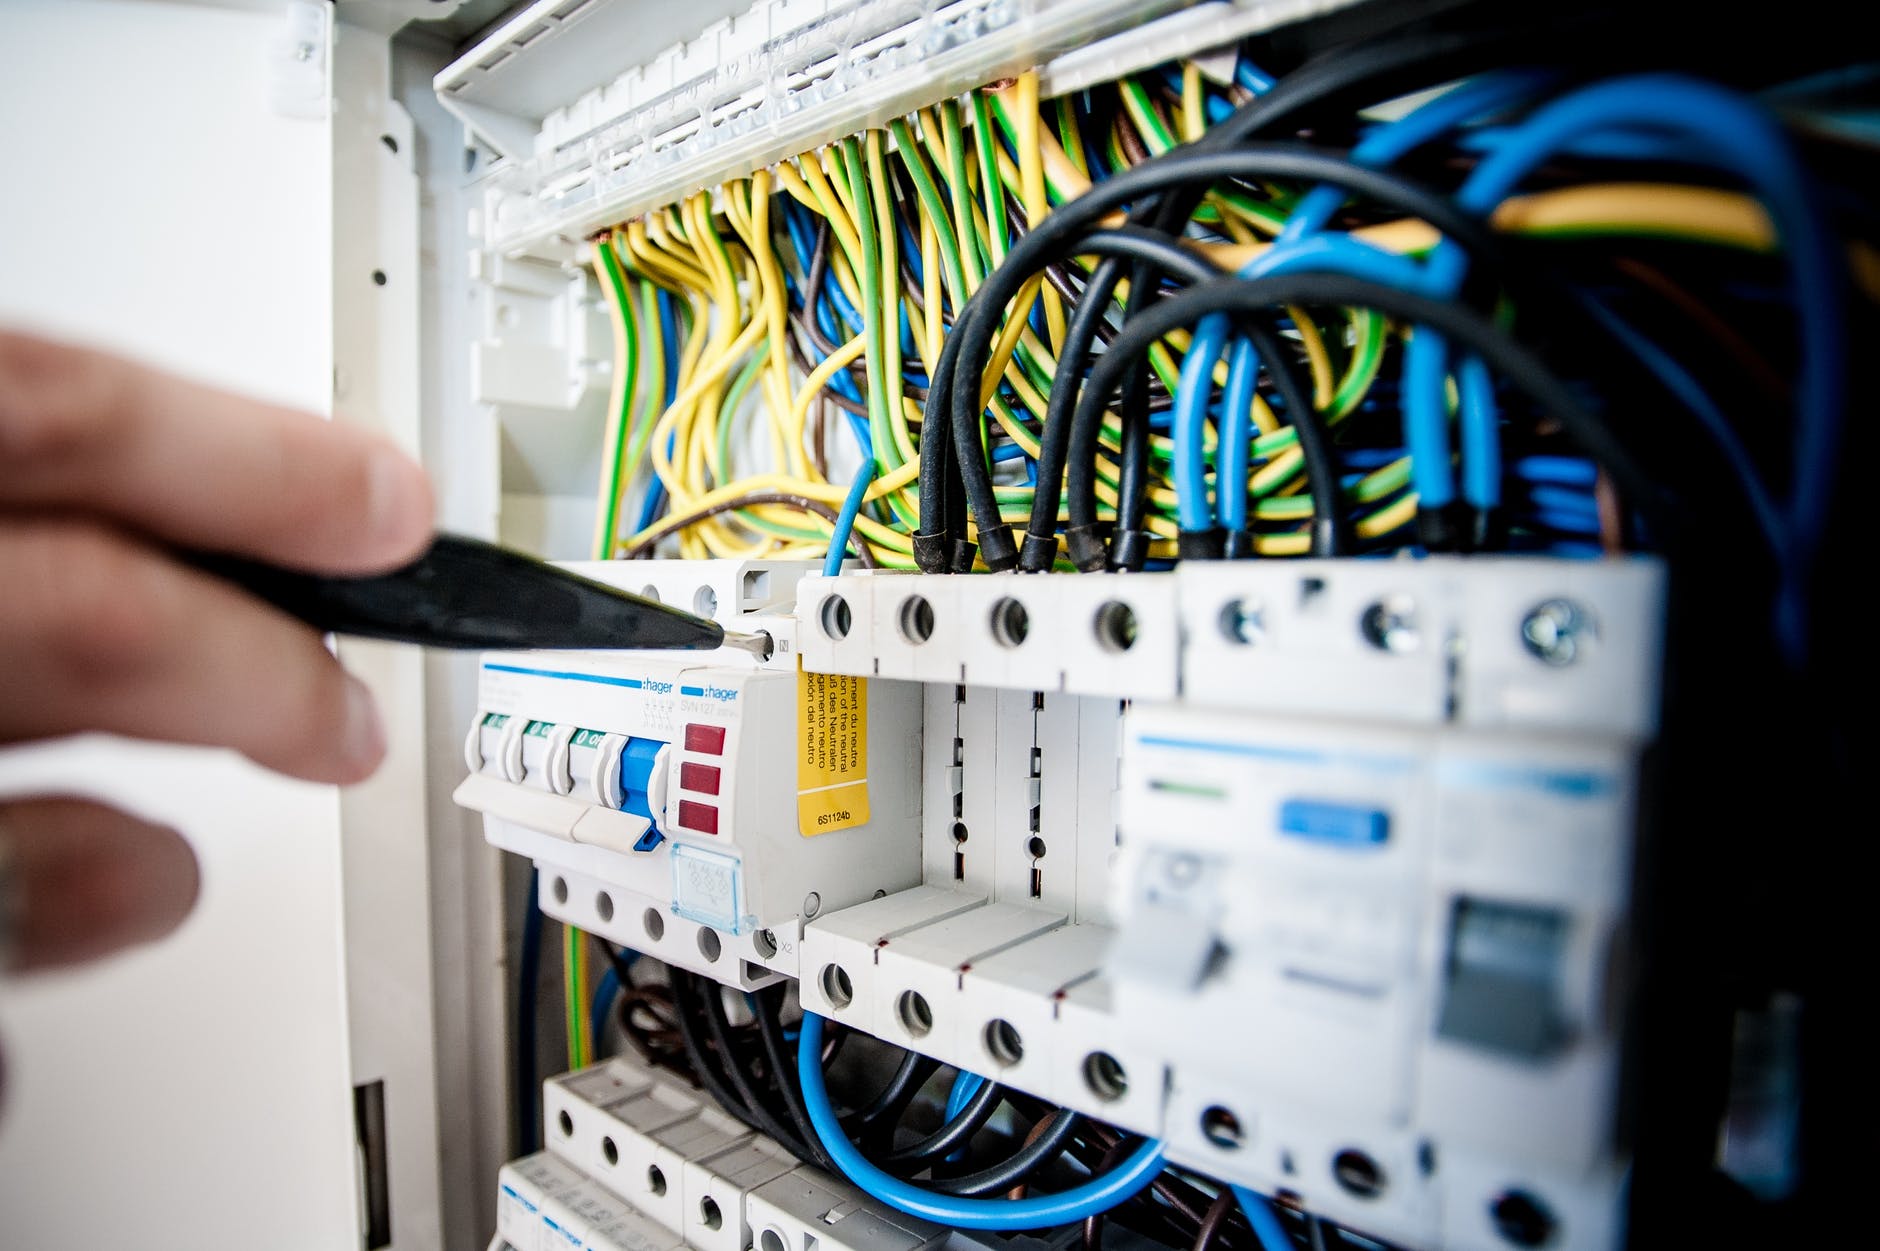 Make sure that the connections are tight so that you can be sure that electricity is moving from the power source into the wires.
Look at the wire, and then follow it as it leads you to the electrical component to which the cables connect. Check to see if there is any damage to the wiring. If you find a section of damaged wire, it is best to replace it along its entire length. Continue to examine the wire all the way up until you reach the electrical component.
Ensure that the terminals on the electrical device are connected to the wires safely and securely. Utilize the multimeter to determine whether or not the device is receiving electricity. Position the red and black sensors on the ends of the wires coming from the meter to connect them to the “+” and “-” terminals on the electrical device, respectively.
Take a look at the meter again.
A reading on the meter that is comparable to the voltage indicated on the battery or transformer label is expected. It shows that electricity is traveling along the wires and reaching your device. It can’t be the wiring because your device isn’t working, so the problem must be with the device itself. If the meter does not indicate a reading, there is likely a problem with the wiring on the inside of the device. You have additionally examined the wire to determine whether any apparent external damage exists. In this particular scenario, the low-voltage wire needs to be replaced.